- How To Make Handmade Papers At Home: DIY Organic Paper-Making Process
- Introduction
- Preview Of The DIY Adventure
- Getting Started
- Materials Required
- Basic Steps for Paper Making
- Step 1: Prepare the Slurry
- Step 2: Create a Paper Bed/Couch
- Step 3: Craft a Basic Paper
- Drying and Preserving Papers
- Final Touch: Strengthening Papers
- Creating Textures
- Double-Colored or Abstract Patterns
- Making Paper from Natural Materials
- Conclusion
How to Make Handmade Papers at Home: DIY Organic Paper-Making Process
Picture this: You send a heartfelt letter on paper you’ve crafted yourself. Intriguing, isn’t it? Today, we explore the art of making handmade papers, a delightful journey that combines creativity and sustainability.
Introduction
In a world increasingly focused on sustainability, one small yet impactful way to contribute is by making your own recycled paper at home. Not only does it provide a sense of accomplishment, but it also allows you to transform everyday materials into something new and beautiful. In this detailed guide, we’ll explore the art of crafting recycled paper, complete with textures, vibrant colors, and eco-friendly practices.
Preview of the DIY Adventure
Before we embark on this DIY journey, let’s peek into what lies ahead. From selecting organic materials to adding personal touches, we’ve got an exciting paper-making adventure awaiting.
Getting Started
The foundation of any good handmade paper lies in the materials. Explore the variety of options available and understand why opting for organic materials is crucial.
Materials Required
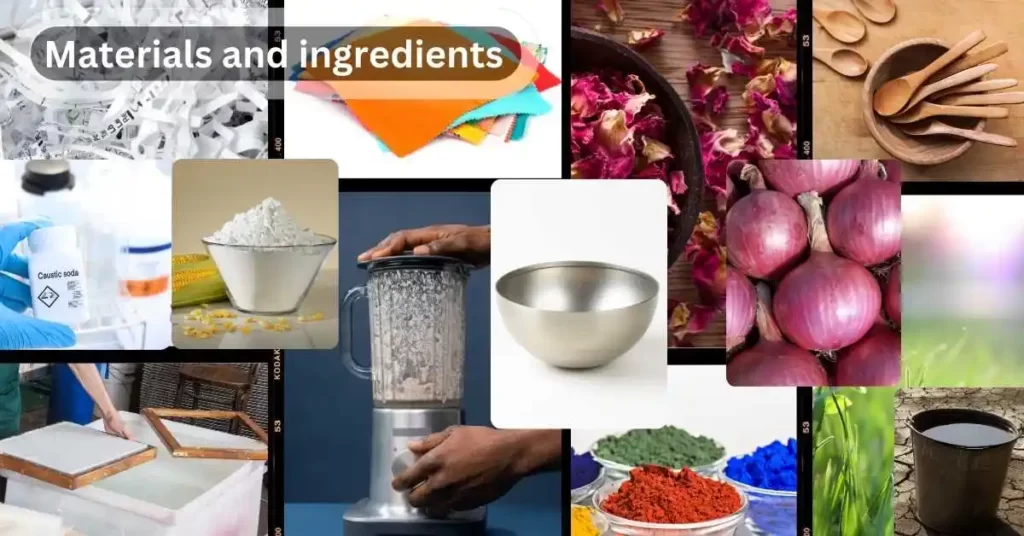
Before we dive into the process, gather the following materials:
- Paper Sources:
- Newsprints, cartons, boxboard sheets, and offset sheets are excellent choices for recycling paper.
- Pigments:
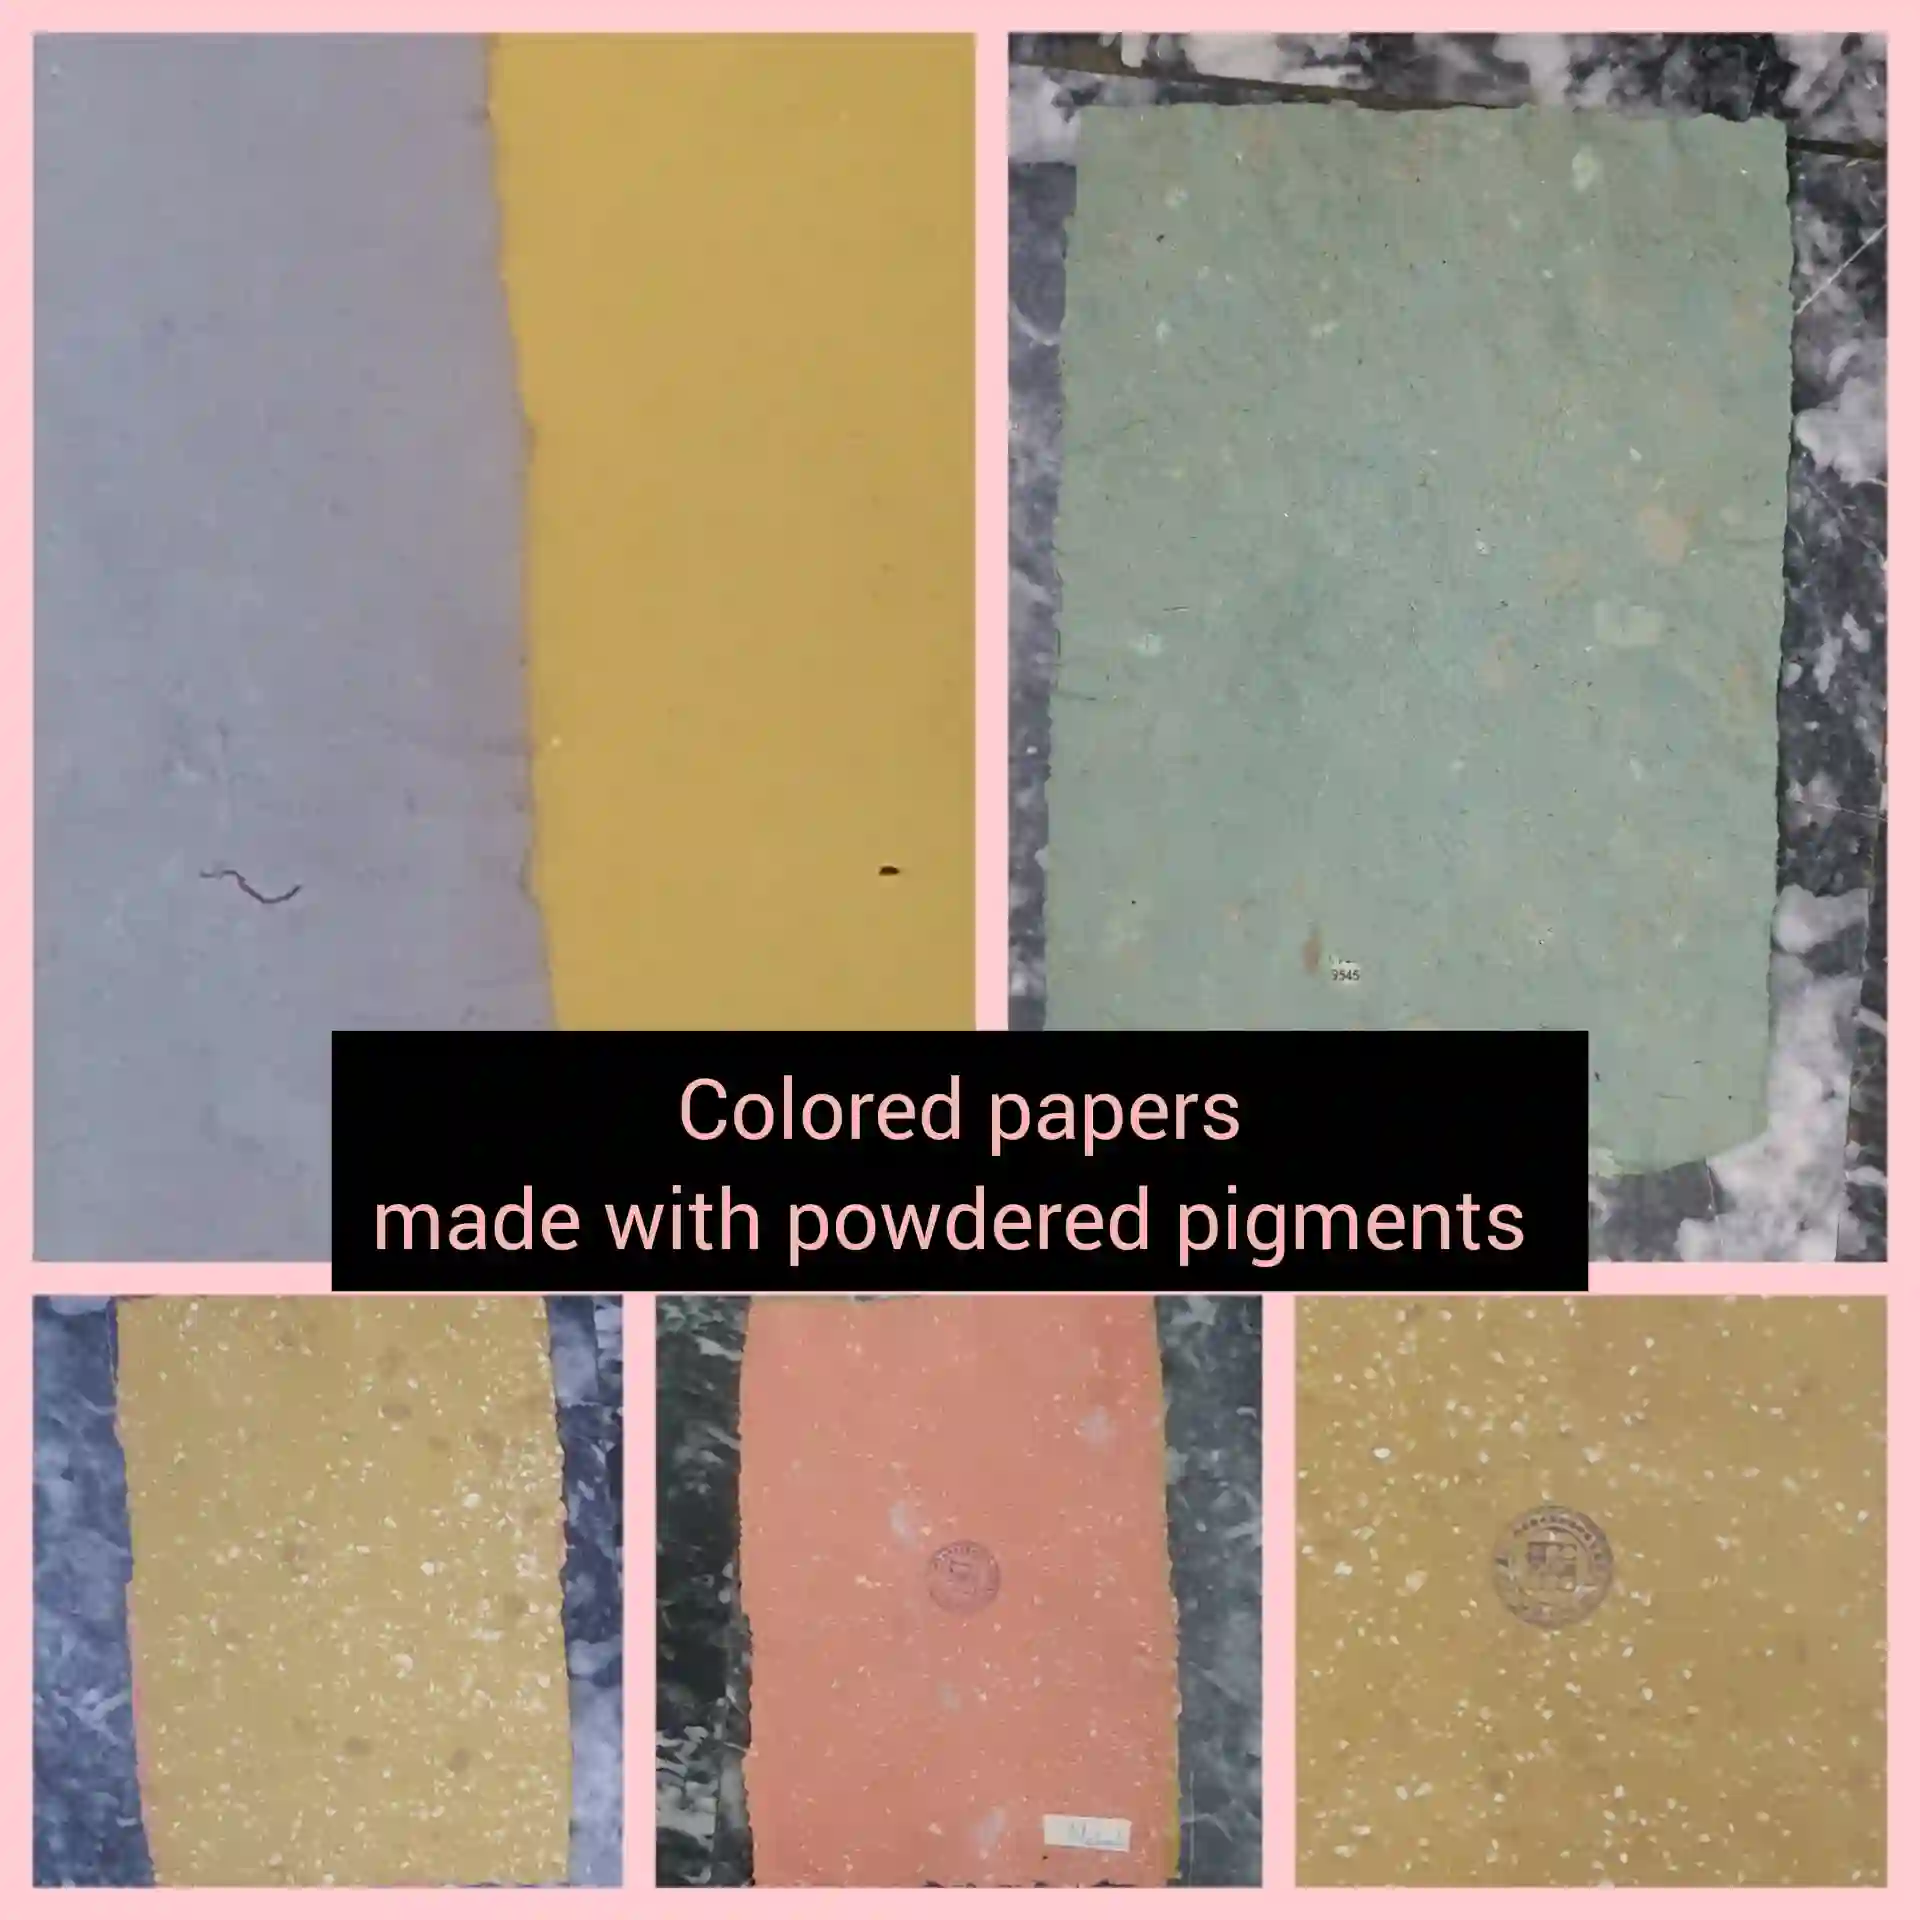
- Choose your preferred pigments; we recommend trying Blue Bird’s powdered pigments. These pigments will add a creative flair to your recycled paper.
- Pigments:
- Equipment:
- Large-sized water bucket for creating the slurry.
- Wooden frames and deckles are essential tools for shaping your paper.
- Metal bowl for mixing ingredients.
- Wooden spoon for stirring.
- Cloth pieces for various steps in the process.
- Equipment:
- Chemicals:
- Corn starch for internal strength.
- Gelatin for external strength and longevity.
- Caustic soda for certain natural materials.
- Chemicals:
- Texturing Items:
- Collect textured objects such as threads, leaves, laces, etc., to add unique patterns to your paper.
- Texturing Items:
- Natural Materials:
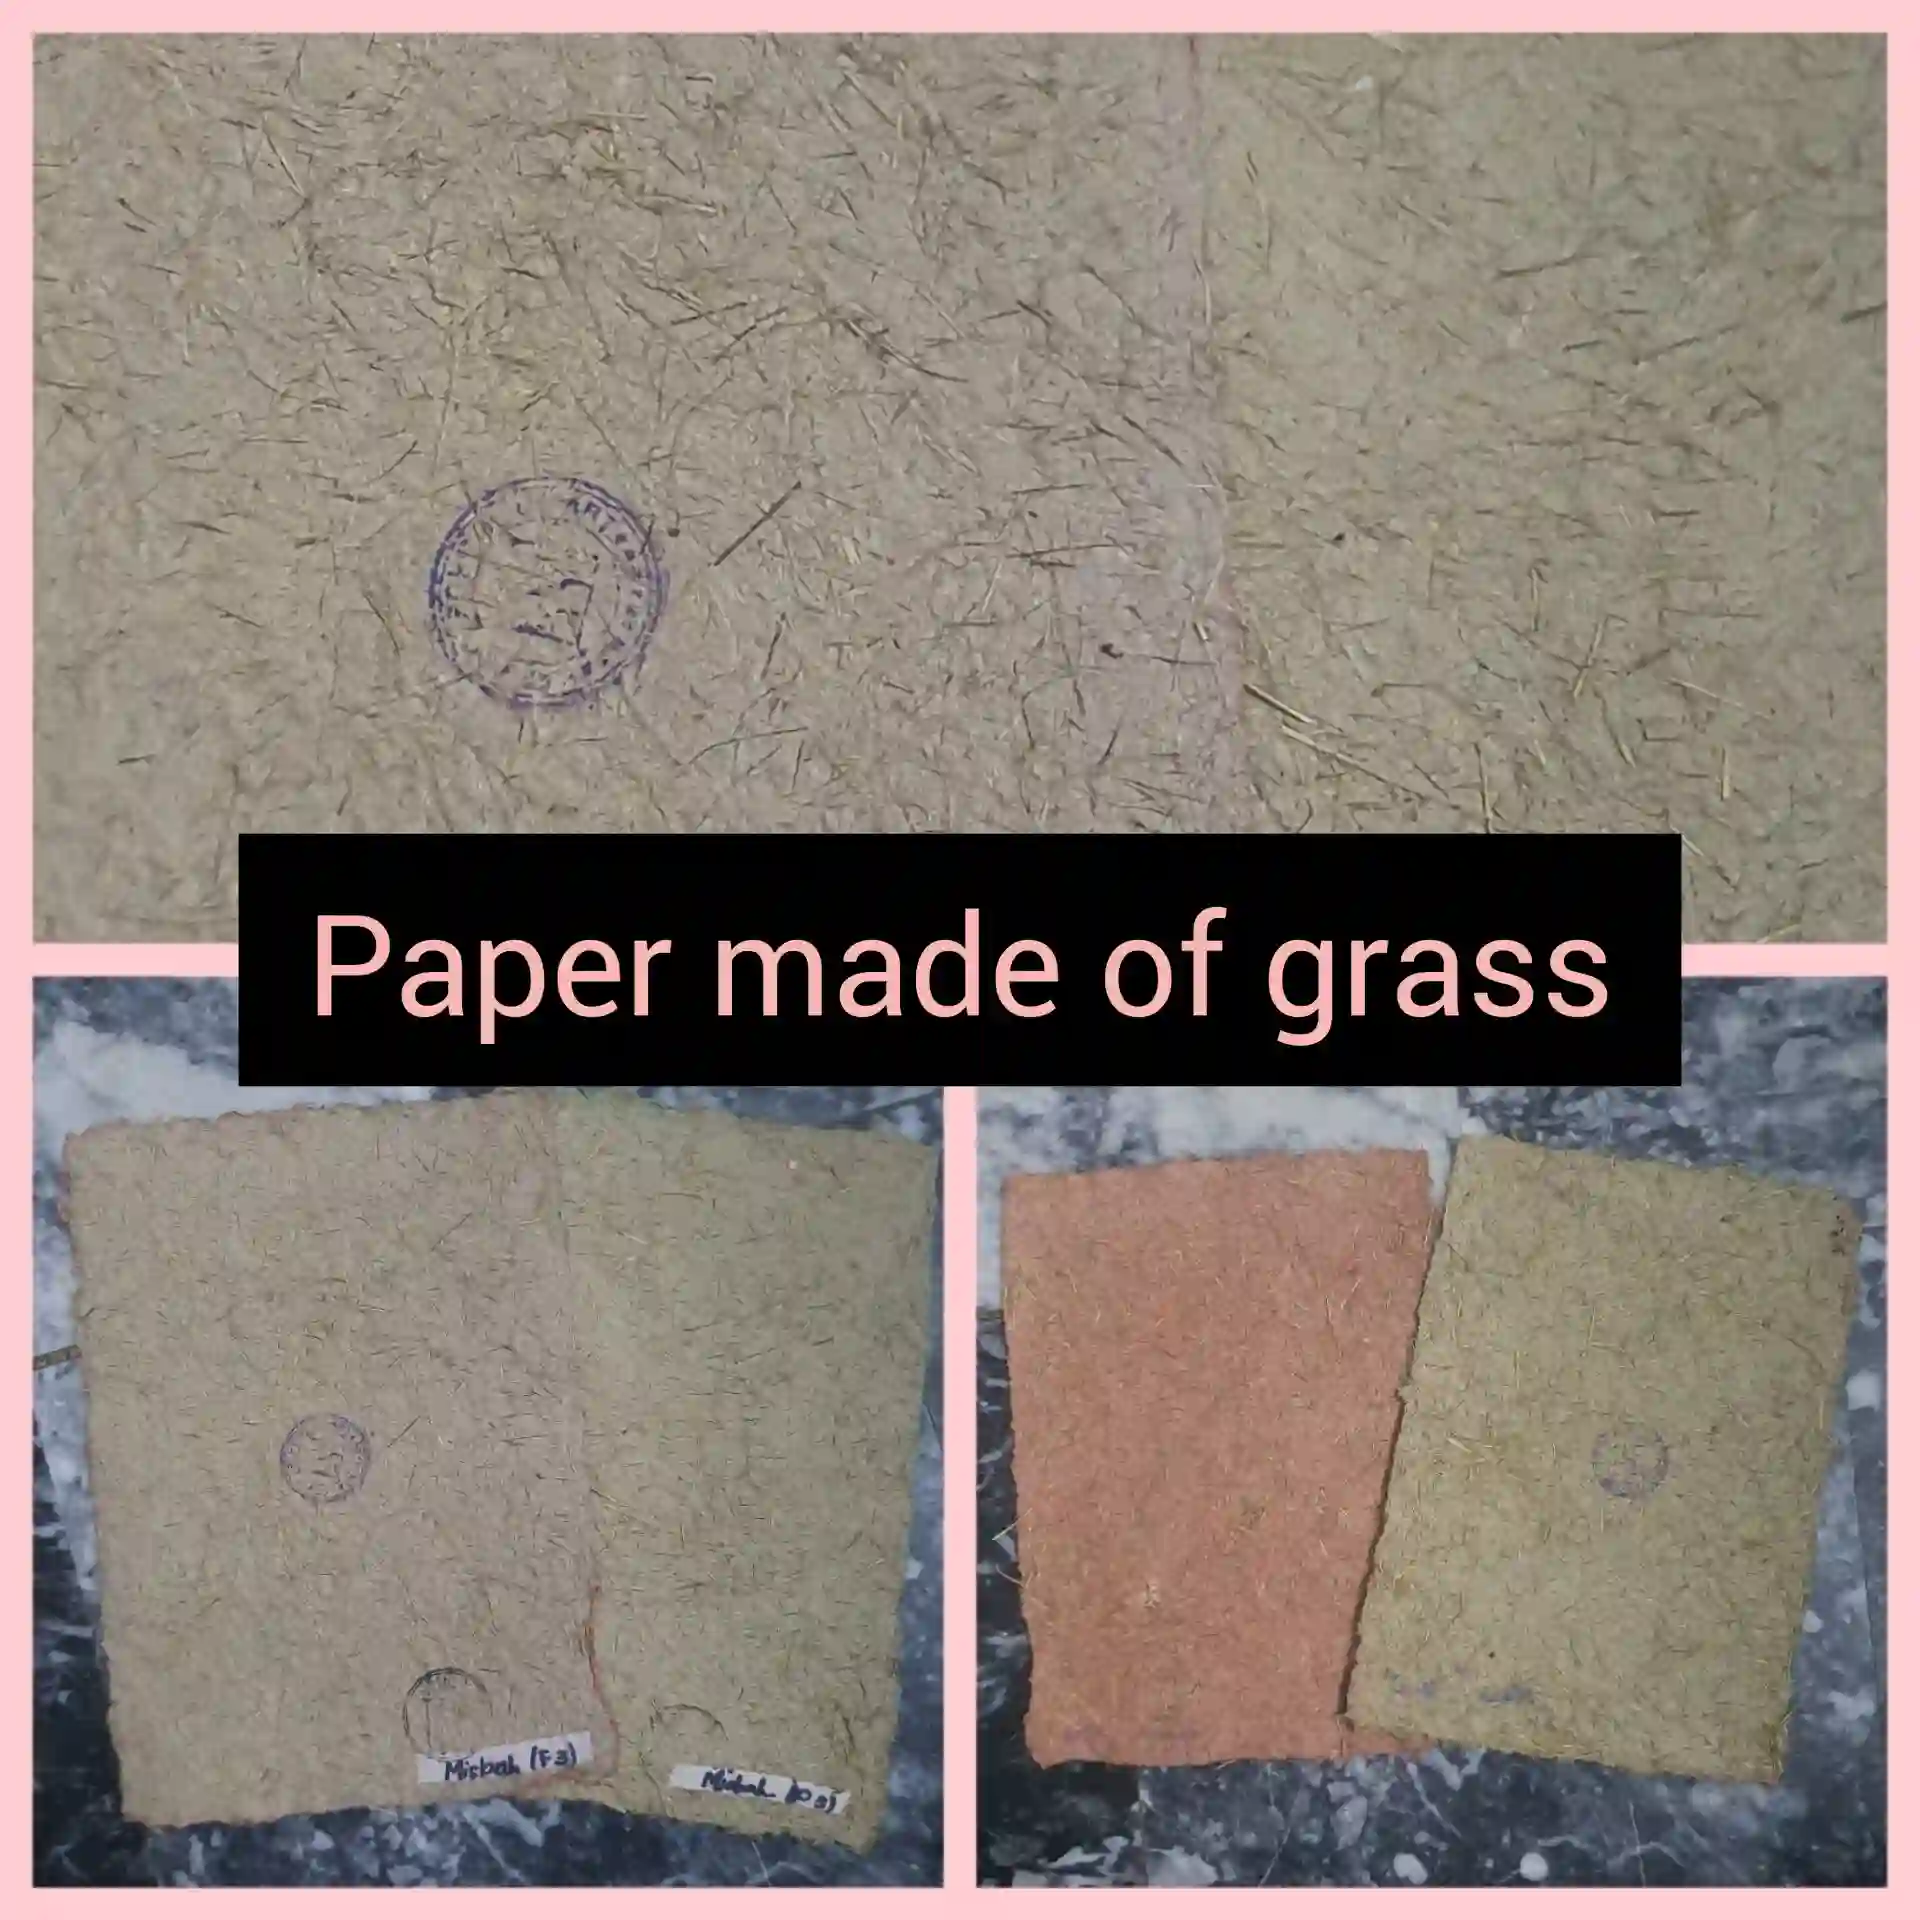
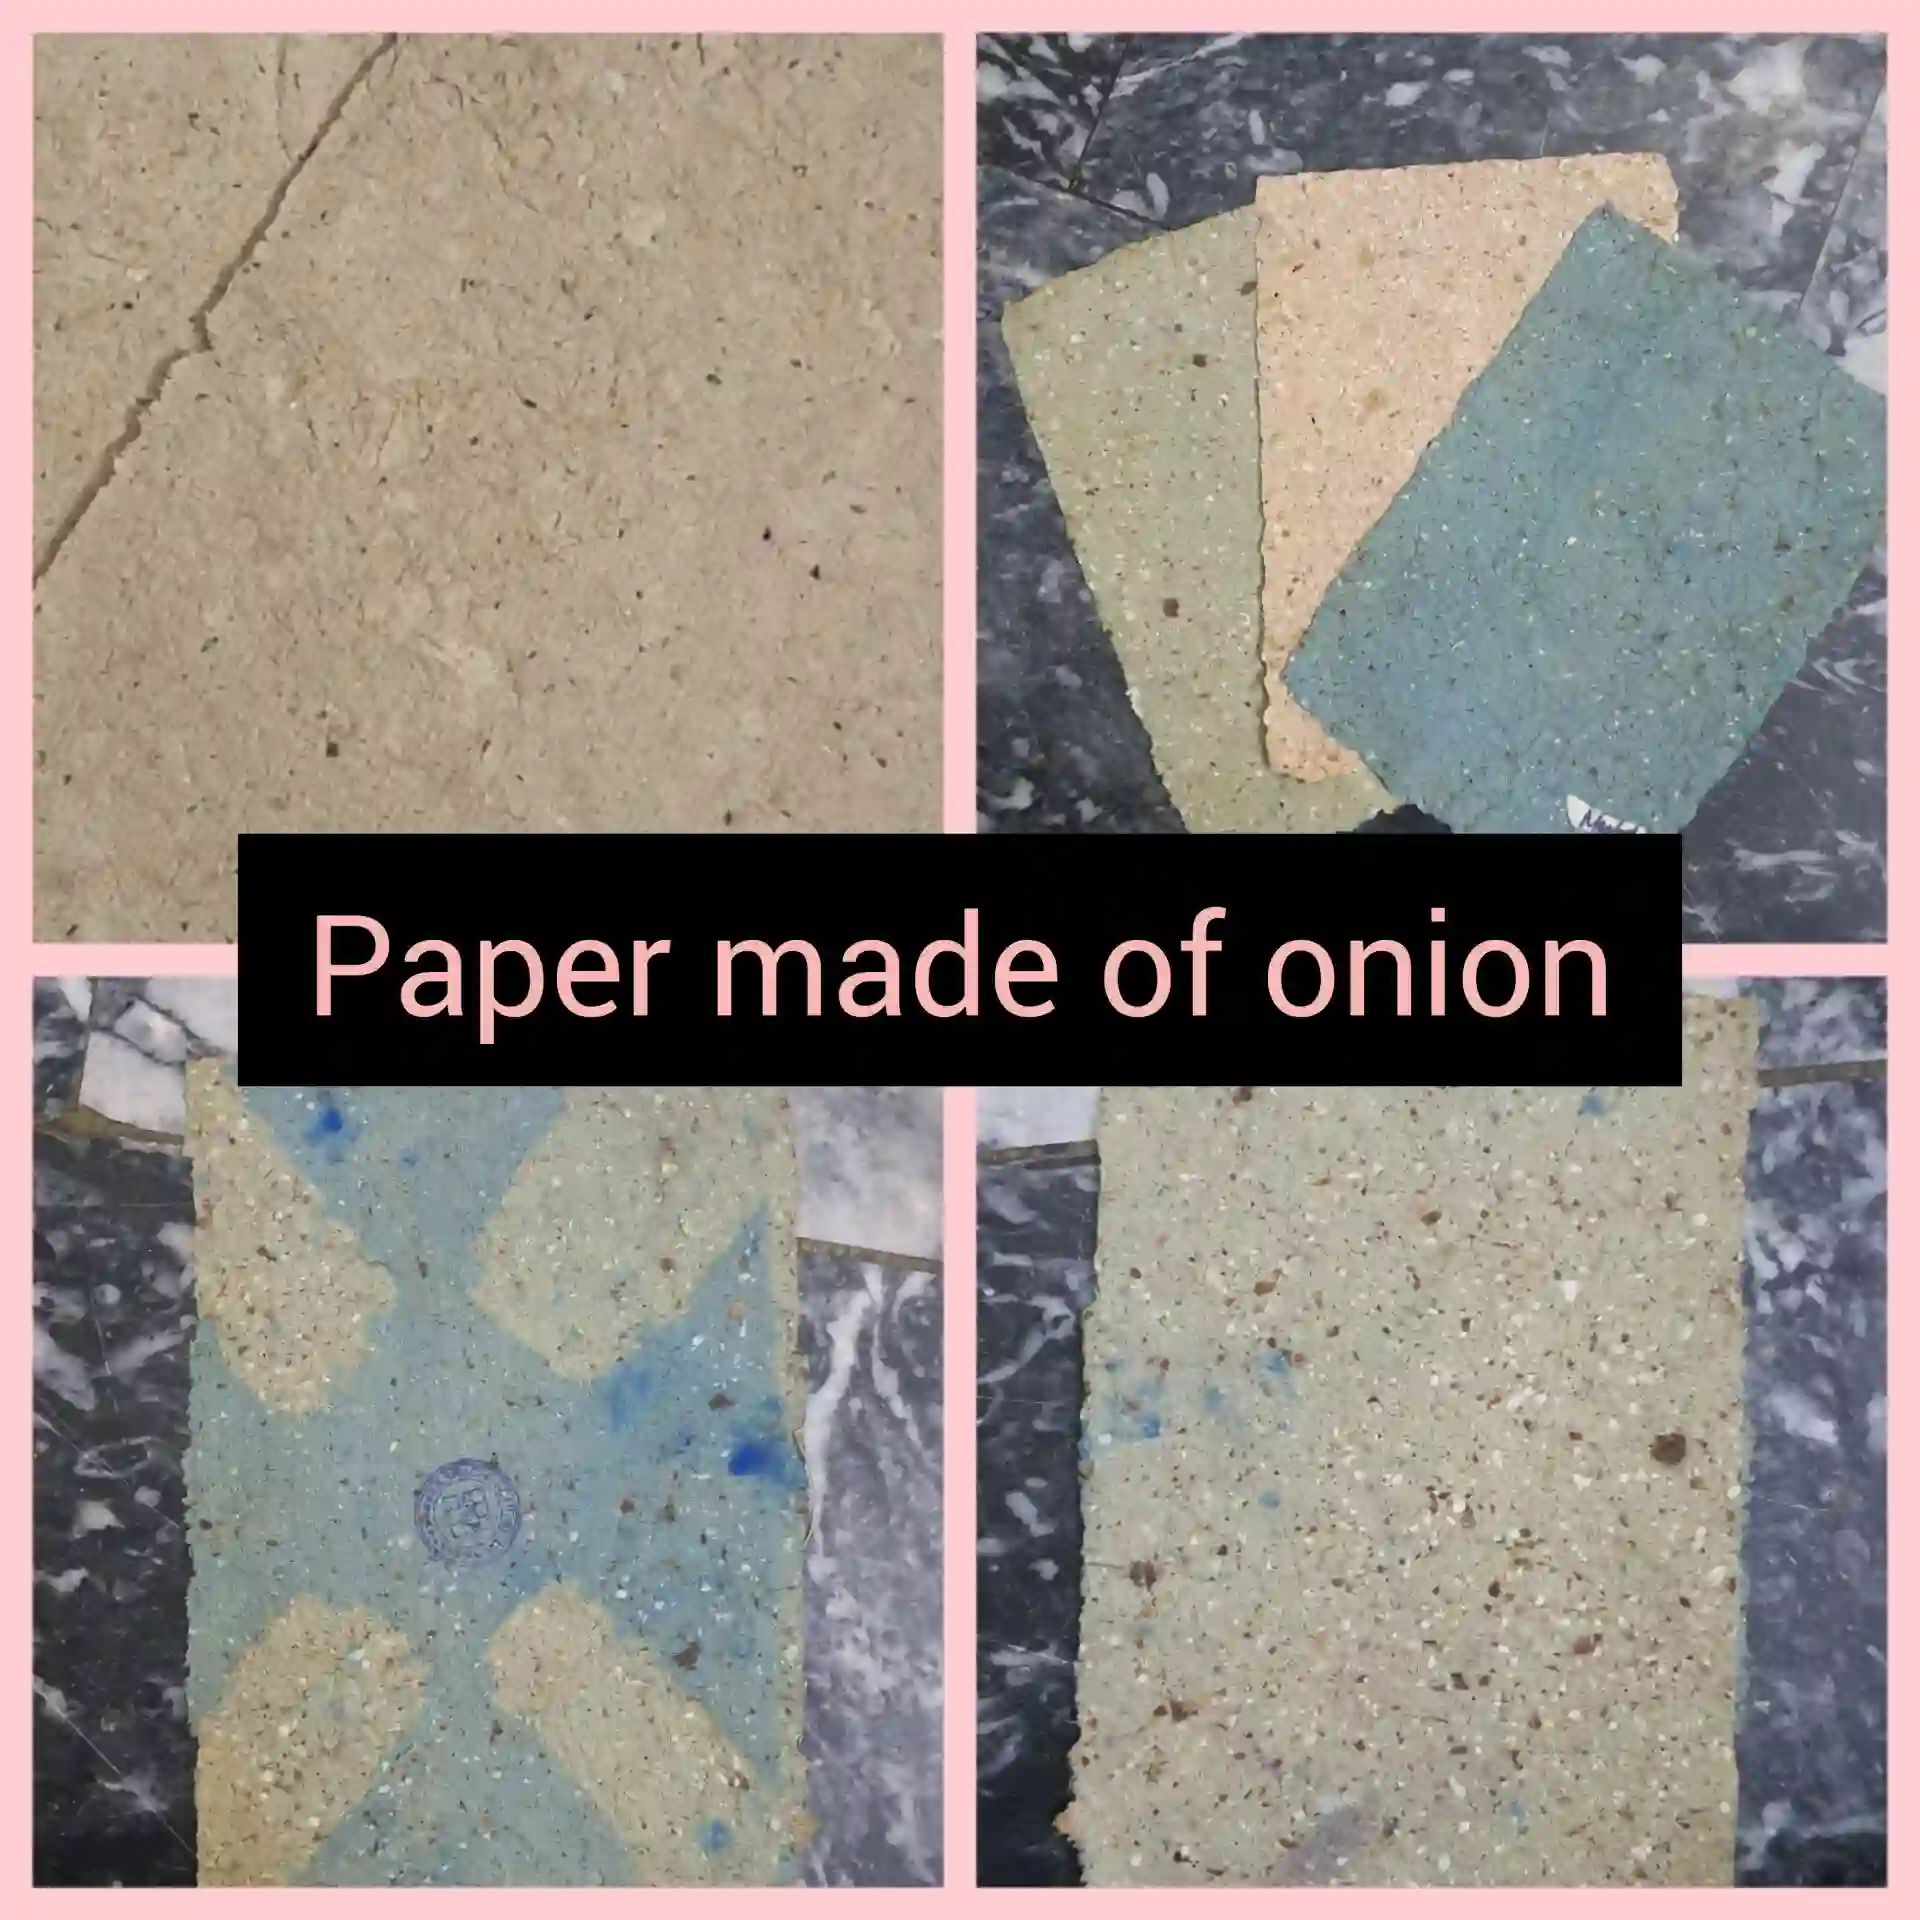
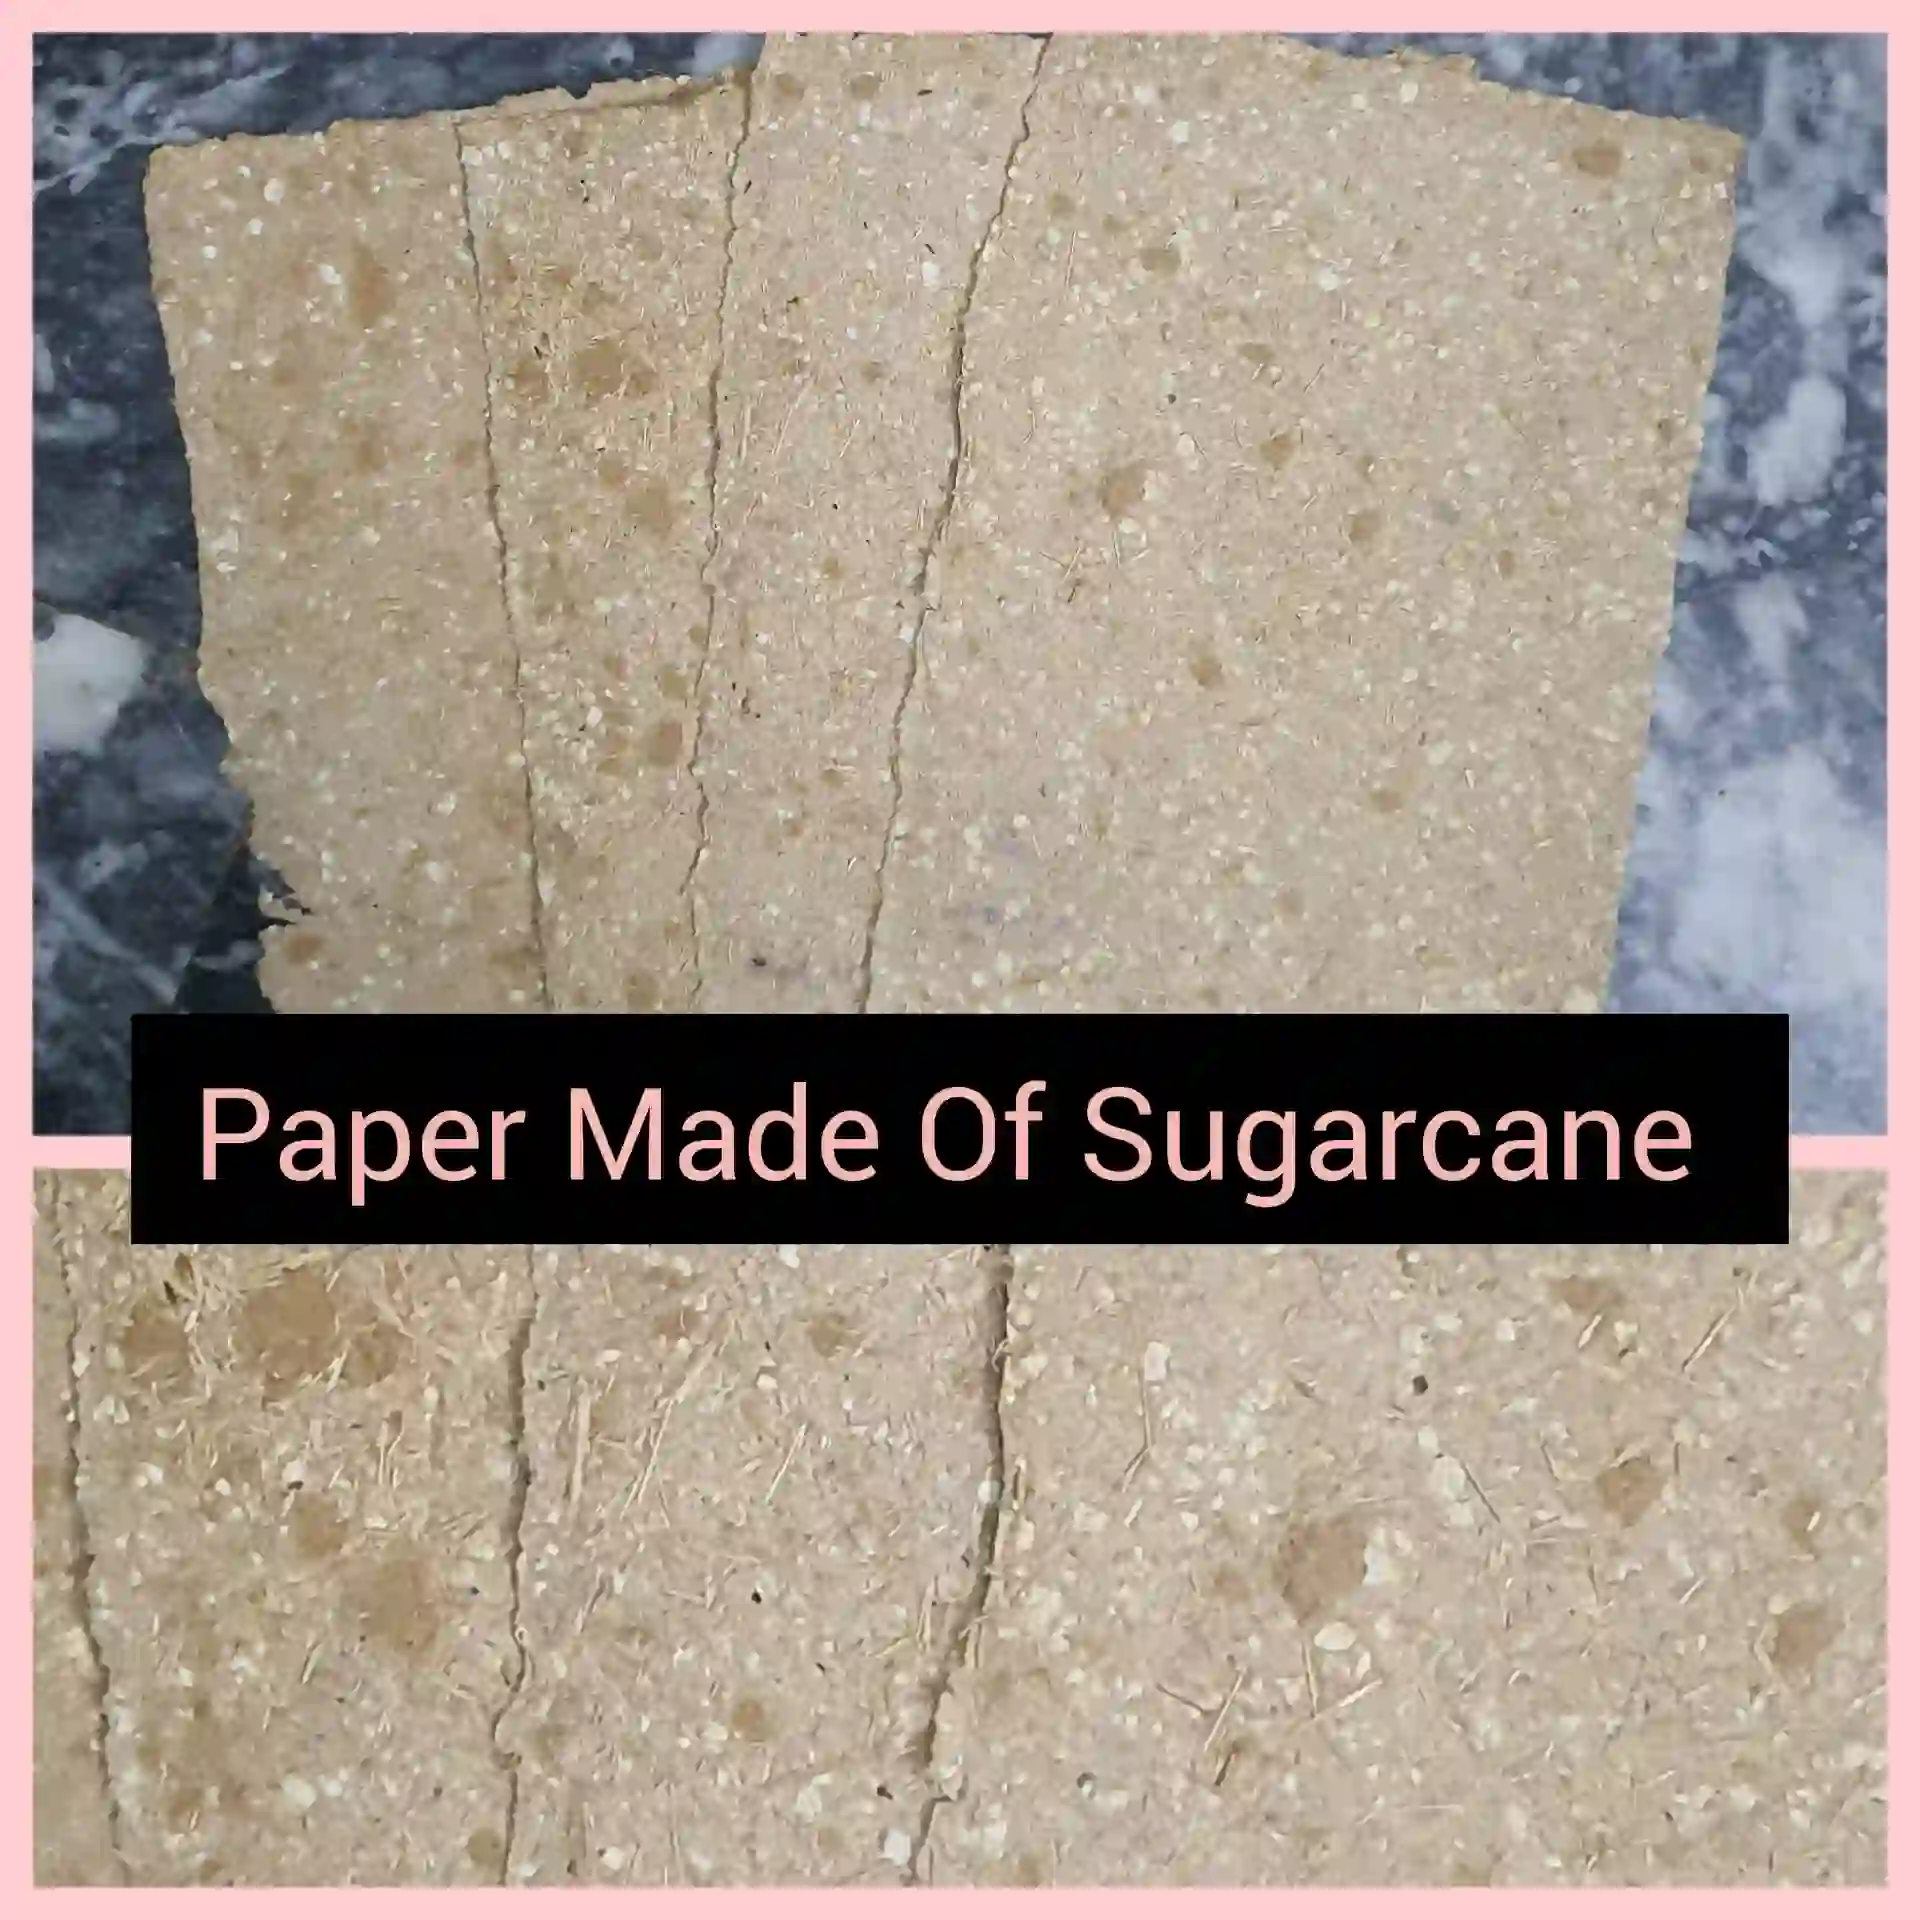
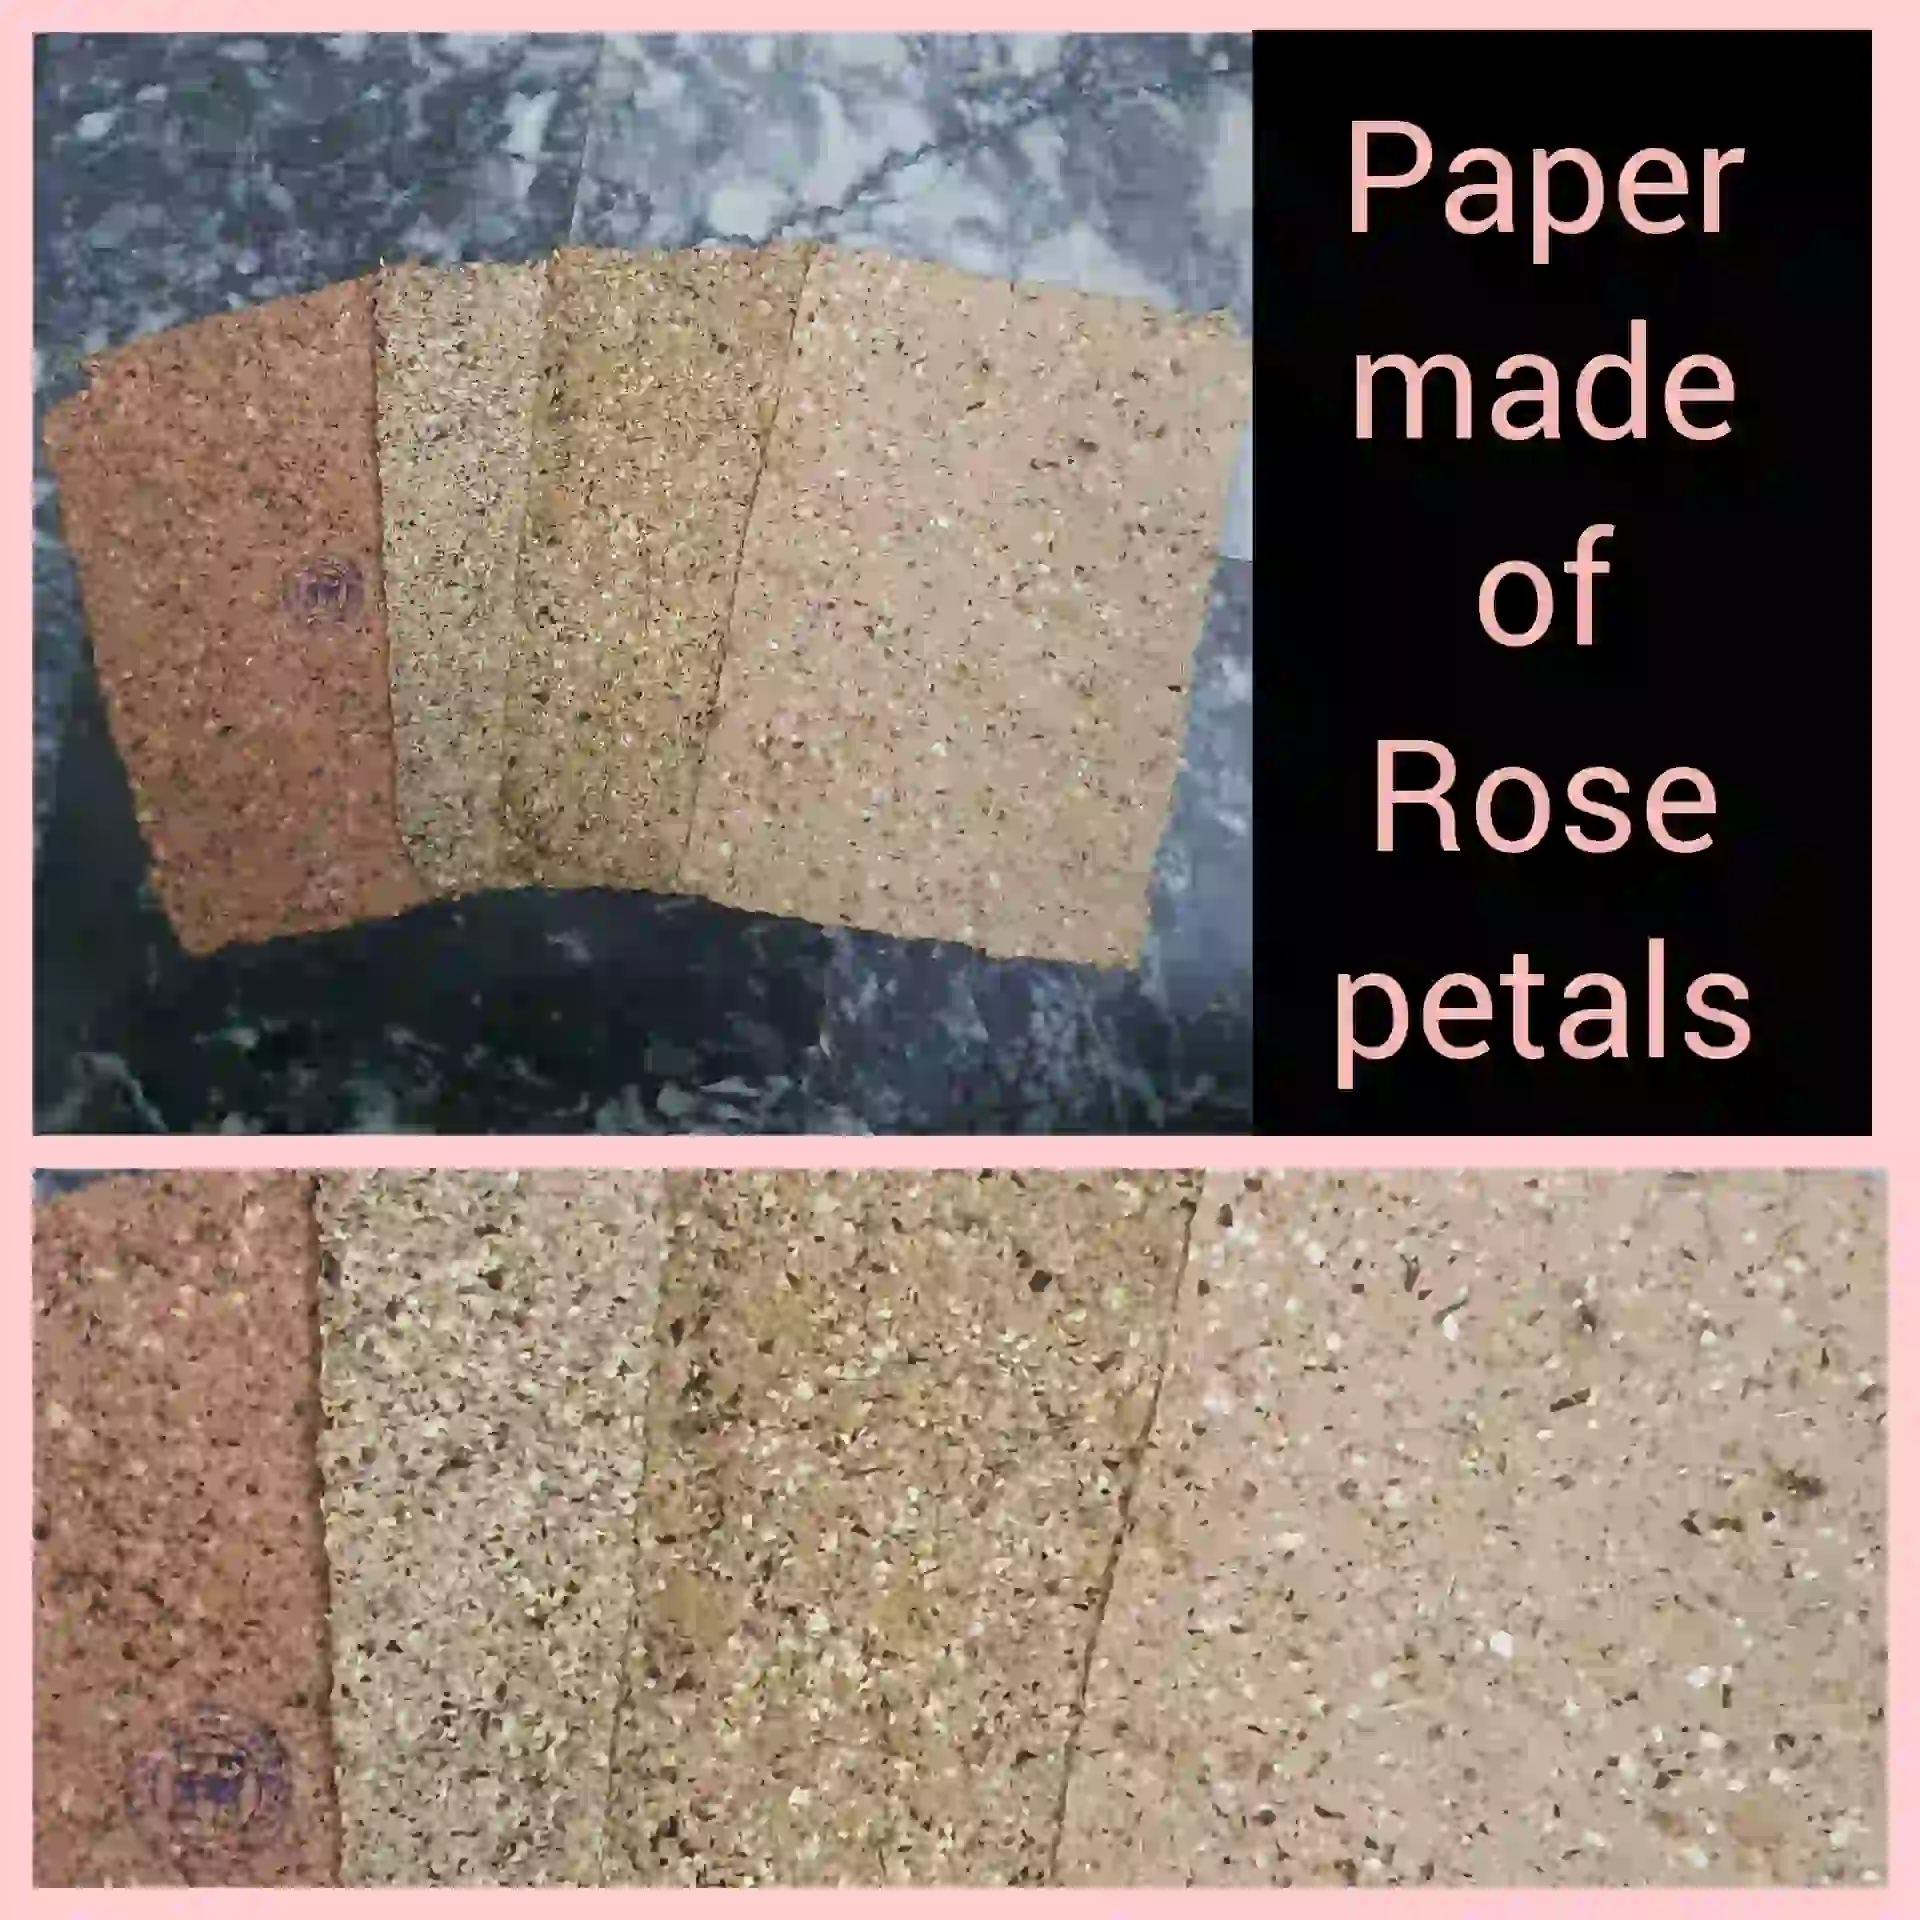
- For a creative touch, gather natural materials like grass, rose petals, sugarcane, banana leaves, and onions. These will add an organic and distinctive element to your paper.
- Natural Materials:
Basic Steps for Paper Making
The Heart of Handmade Paper: Organic Sources
Cellulose is the main requirement of paper paper-making process.
To make the process easier, we are using the recycle method. We are using offset sheets and boxboard sheets.
Breaking and blending of these materials results in a rich cellulose pulp ideal for paper making.
The transition from raw materials to pulp is a critical step. Follow the step-by-step guide on how to process and prepare your organic materials, ensuring a smooth paper-making process.
Transforming Raw Materials
Step 1: Prepare the Slurry
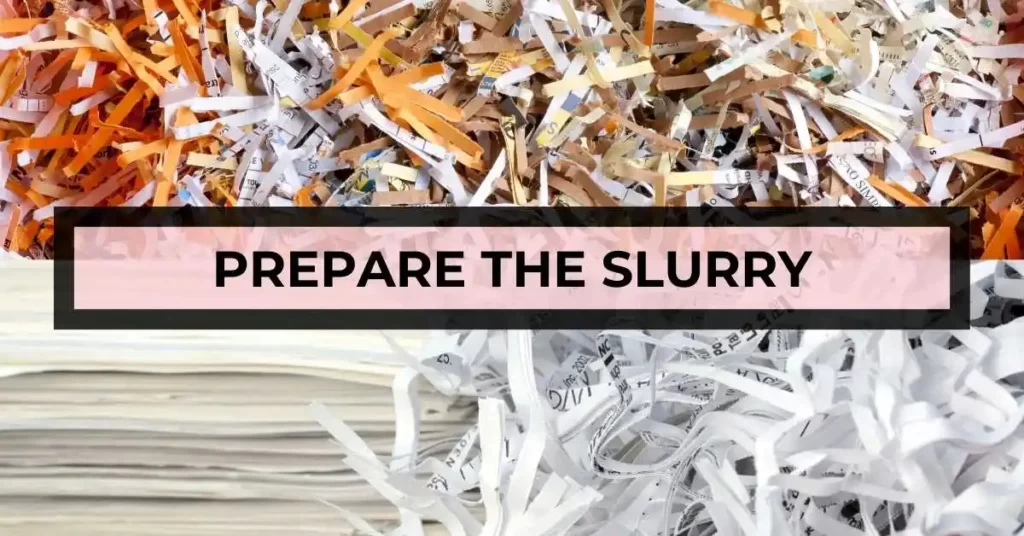
- Tear the chosen papers and cardboard into small pieces, promoting effective blending.
- Soak the torn paper and cardboard in water overnight, ensuring they are thoroughly saturated.
- Blend the paper and cardboard separately, using a strainer or muslin to drain excess water.
Creating a pulp is the simplest step of this process.
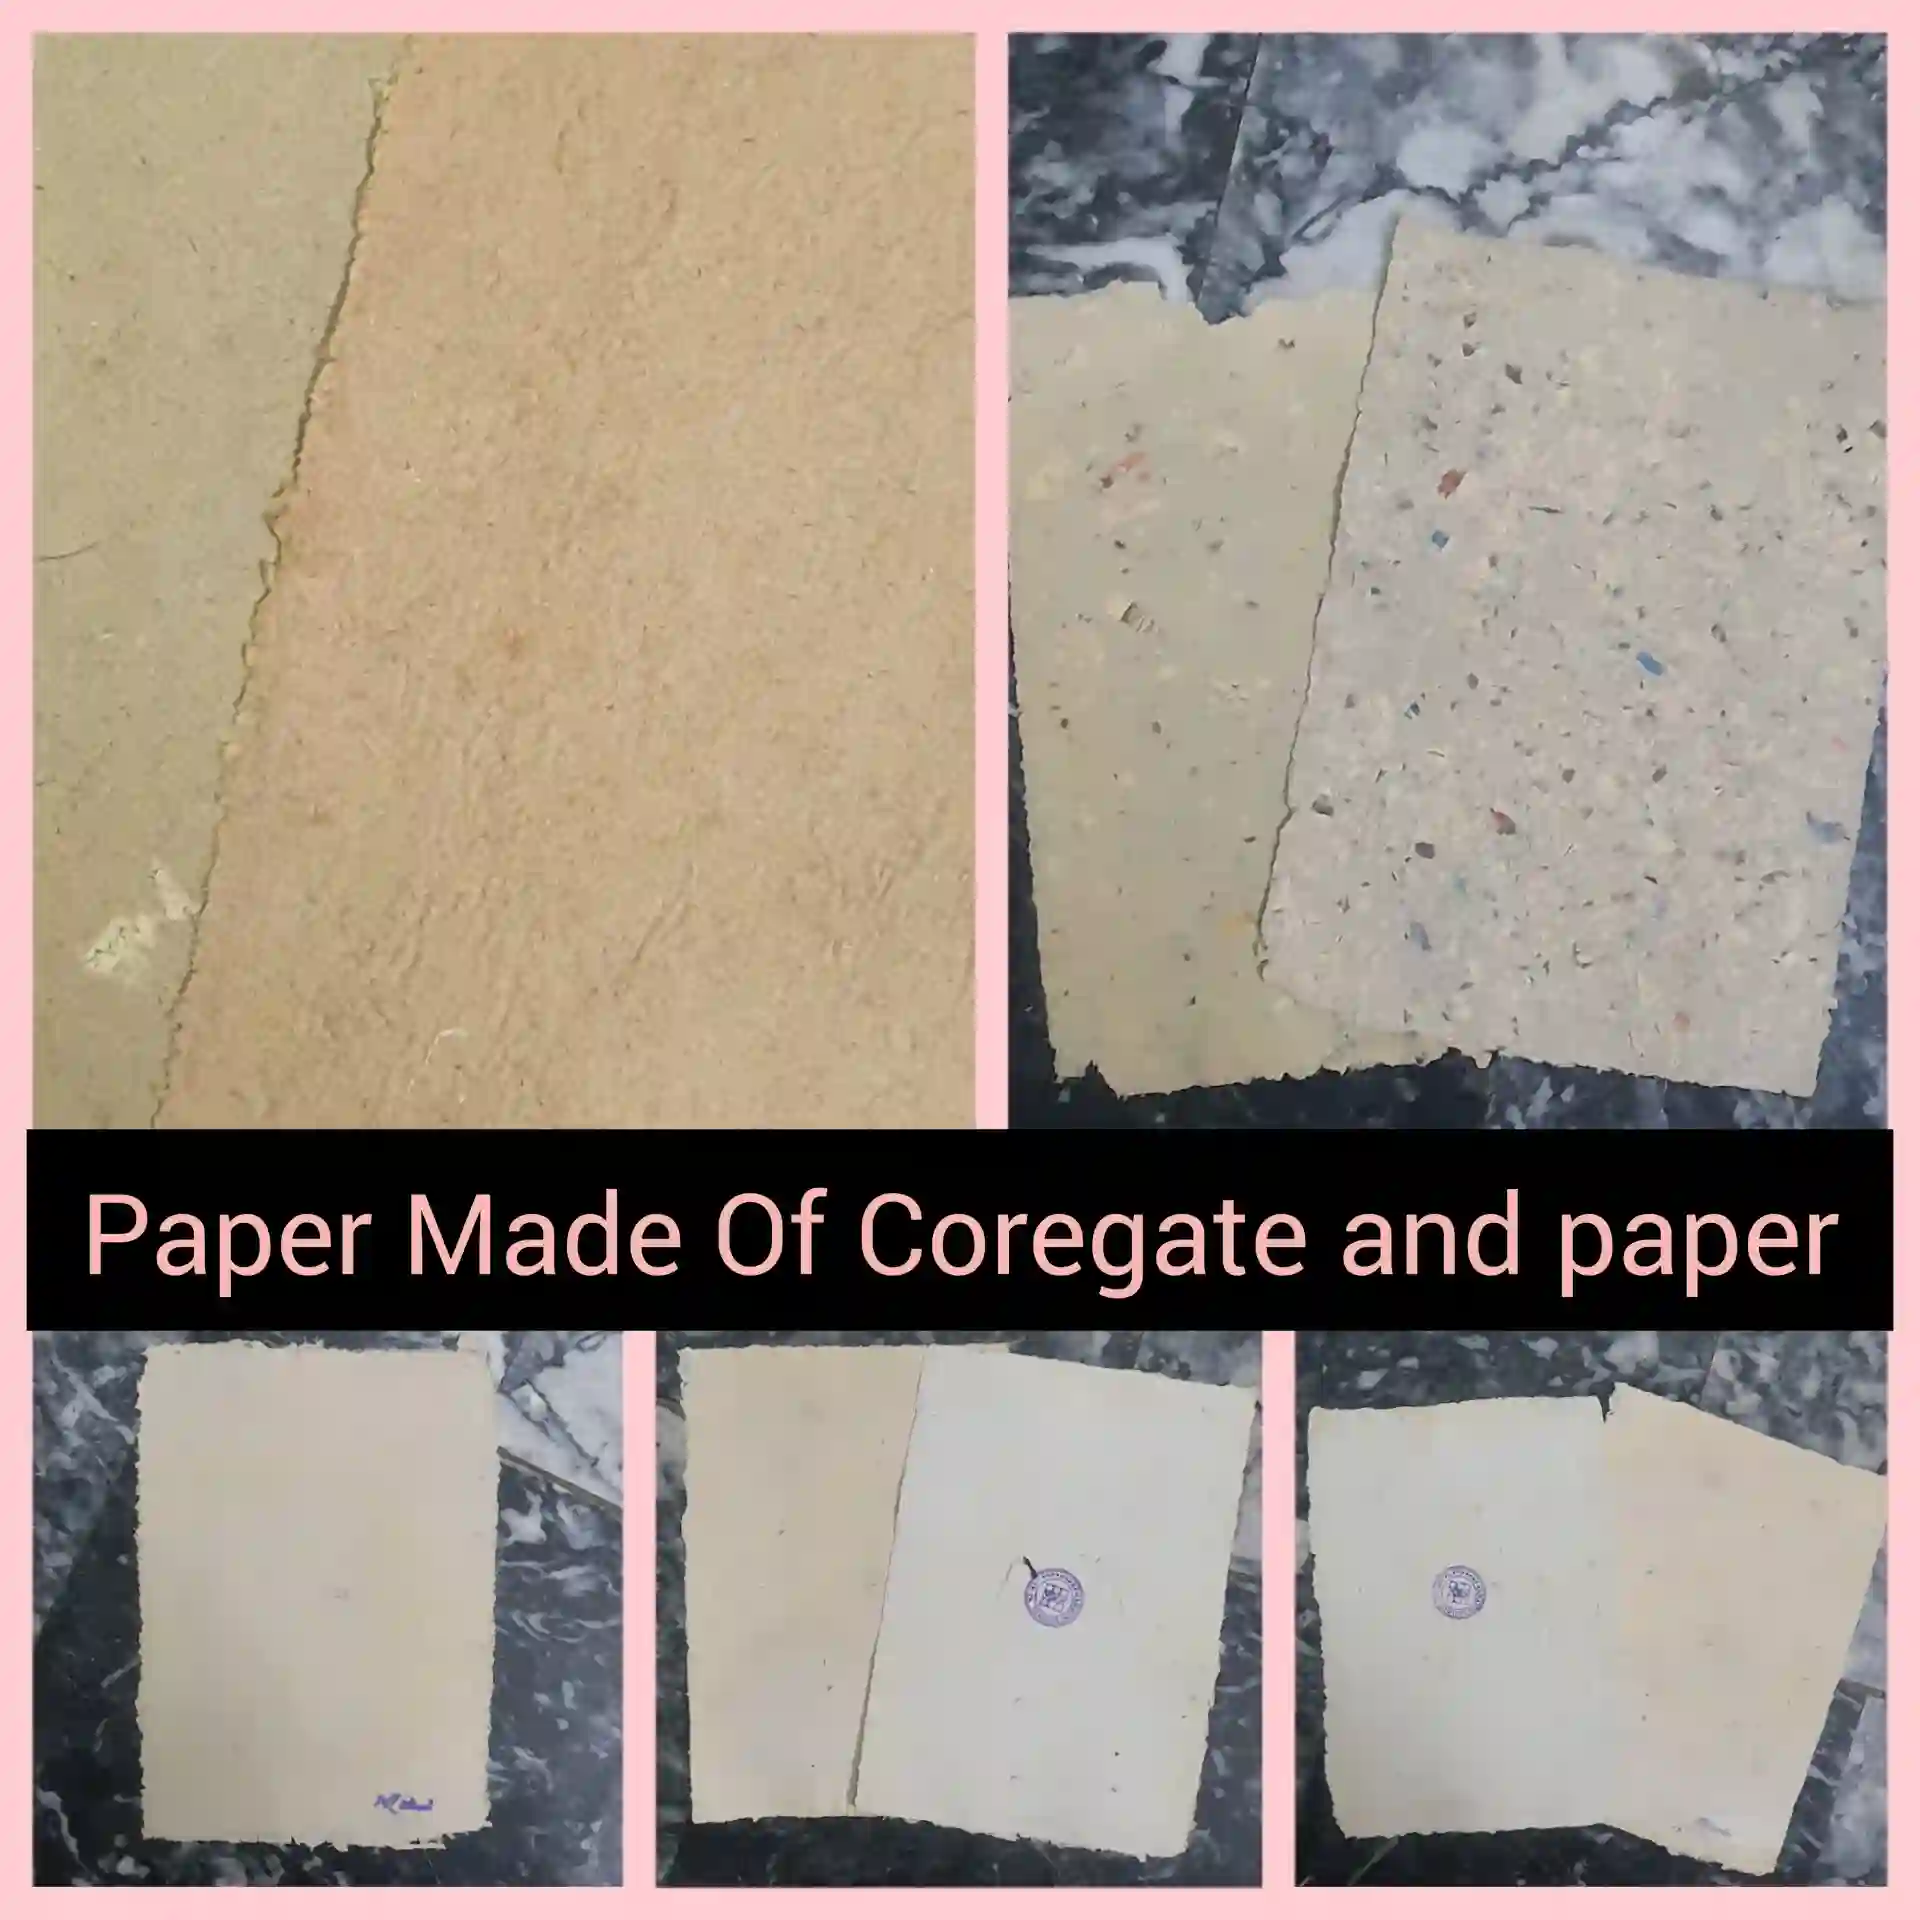
We call the pulp of boxboard/cardboard,t coregate.
So step one is making a pulp.
How to make a pulp for handmade/Recycled paper?
You can use any kind of paper, for example, old waste papers, newspapers, fresh offset sheets, cardboard sheets, boxboard sheets, etc.
I have used fresh white offset sheets and fresh boxboard sheets.
Soak them in water/ warm water preferrable.
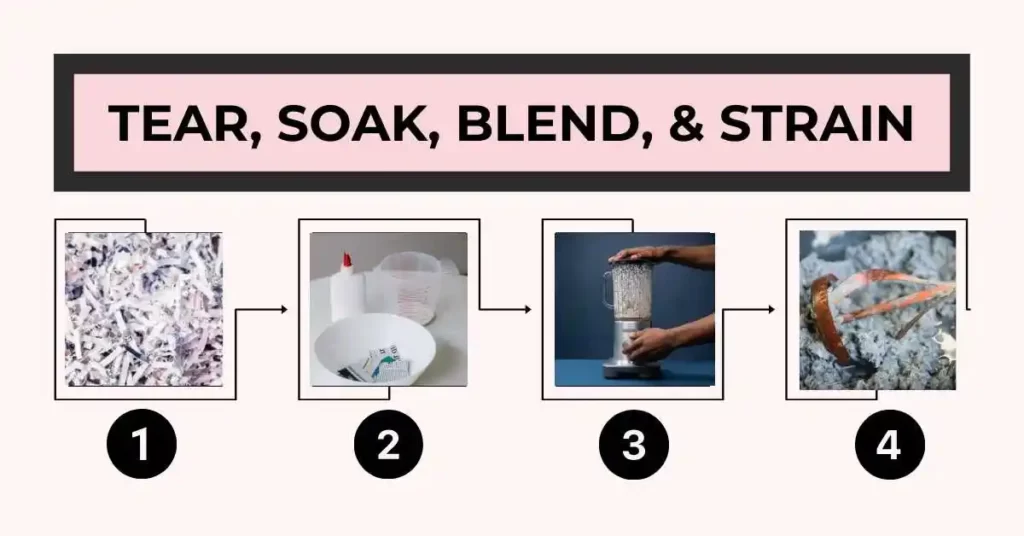
You can either soak the whole sheet and tear it later or tear it into smaller pieces and soak them in a tub filled with water. Soak them overnight or for a few hours for smoother pulp.
The next step is to blend the paper. Take a blender, add water, and mesh paper in a ratio of 2:1. More water will help to create a smoother mesh.
Use a strainer after every successful blend to strain extra water and collect the pulp in separate bowls.
If you want to keep the mesh safe for longer, strain all water and dry it completely. Store in a dry jar. It’s all good for about four to six months.
Blend all the paper mixture.
And get ready for the next step.
Step 2: Create a Paper Bed/Couch
HOW TO CREATE COUCH FOR MAKING HANDMADE PAPER
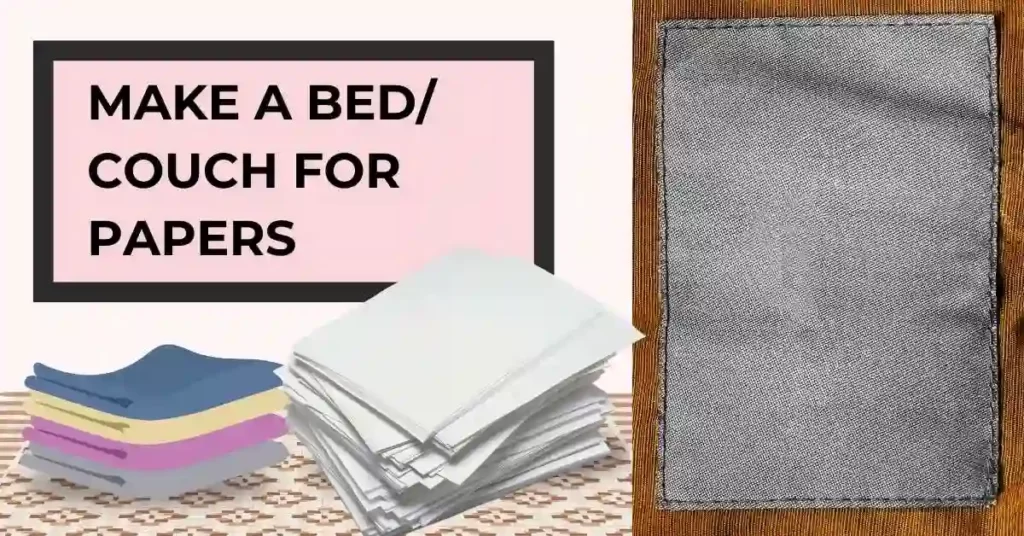
You can use a bunch of old waste papers, or clothes for creating a paper bed. All you need to do is to make a soft base for lying papers. Take a bunch of newspaper, pile it up take multiple damp cloths, and Cover it making soft edges on the right and left sides.
Once your bed is ready you are good to go…
Step 3: Craft a Basic Paper
Now comes the artistic part – the actual paper-making process. Walk through the steps, from mixing the pulp to adding vibrant colors, if desired. Learn the secrets to achieving the perfect paper consistency.
Now here comes the most exciting part of this DIY. You can get as creative as possible.
Take a tub of water and fill it 70 percent with water. Take the handful of slurry (mixture of coregate and newspaper), coregate or offsets, or newspaper whatever you want to ( you can mix them all and play with the blend as u like). add in little amount of corn starch powder ( it is responsible for internal strength of paper). Mix the pulp well in the water bucket.
Take the frame and place on it a deckle, aligning it edge to edge, before you dip it in the bucket make sure to mix the pulp one more time.
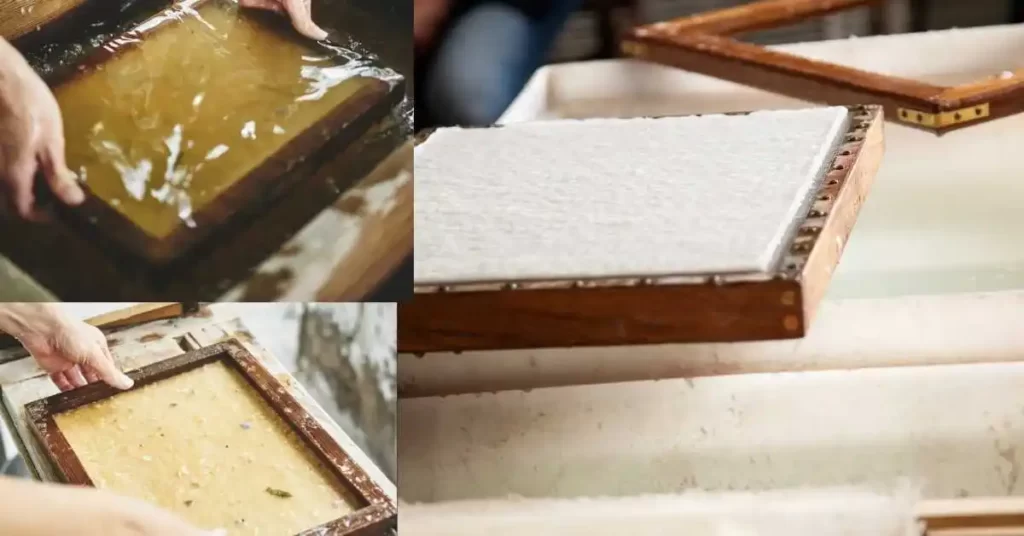
Collecting the pulp evenly on a frame is a little tricky, it may take a few failed attempts to successfully collect the mesh on the frame. The collection of pulp on the frame is the same as filling a bowl with a bucket, from the vertical edges of the bucket, slowly dip the frame and deckle inside, shaking your hands forward, backward, and sideways to effectively collect the pulp, keep it for few seconds and slowly move your hand upwards keeping the frames align and horizontally as they were in a bucket. Let all the water drain completely. Make sure no water droplets stay on the mesh it may result in marks after drying out.
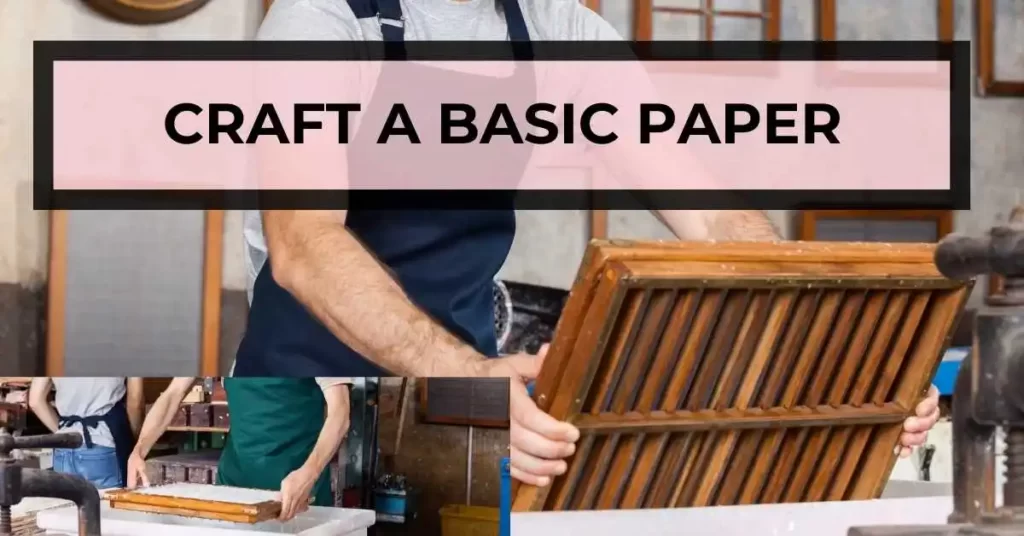
Once you take it out, make sure to check if the pulp is evenly spread on the frame from edge to edge. If not dip in water again and reattempt. If you feel pulp is not enough, add a little more till the smooth layer is achieved.
Transfer the frame to the paper bed, pressing and releasing it carefully to create the first sheet.
Drying and Preserving Papers
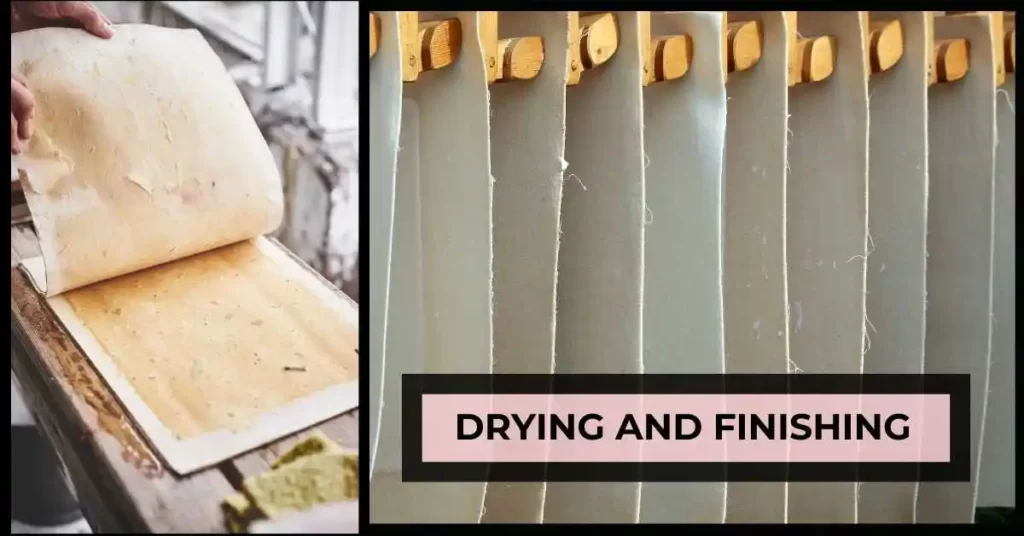
- Lay out the crafted papers on the bed and let them dry for 24 hours.
- Gently remove the dried papers from the fabric. The drying process is crucial for achieving the right texture and durability.
Final Touch: Strengthening Papers
- Mix 2 tablespoons of gelatin with 1 1/2 cups of water, cooking until it forms a paste. This step enhances both internal and external strength.
- Brush the papers with this gelatin paste to ensure the longevity of your recycled paper.
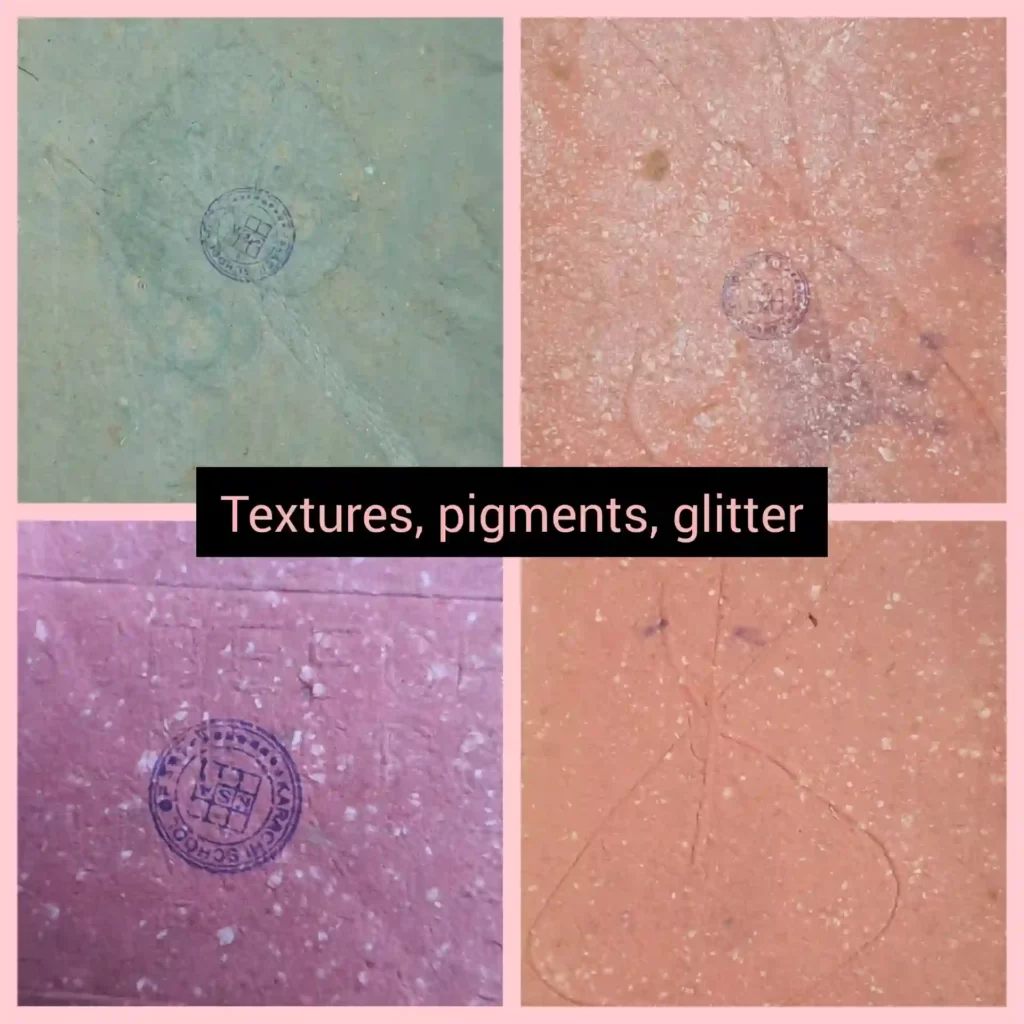
Creating Textures
Experiment with various textured objects placed on the frame or sandwiched between layers to add unique patterns to your paper. Threads, leaves, laces, and even alphabet stencils can be used to create captivating textures.
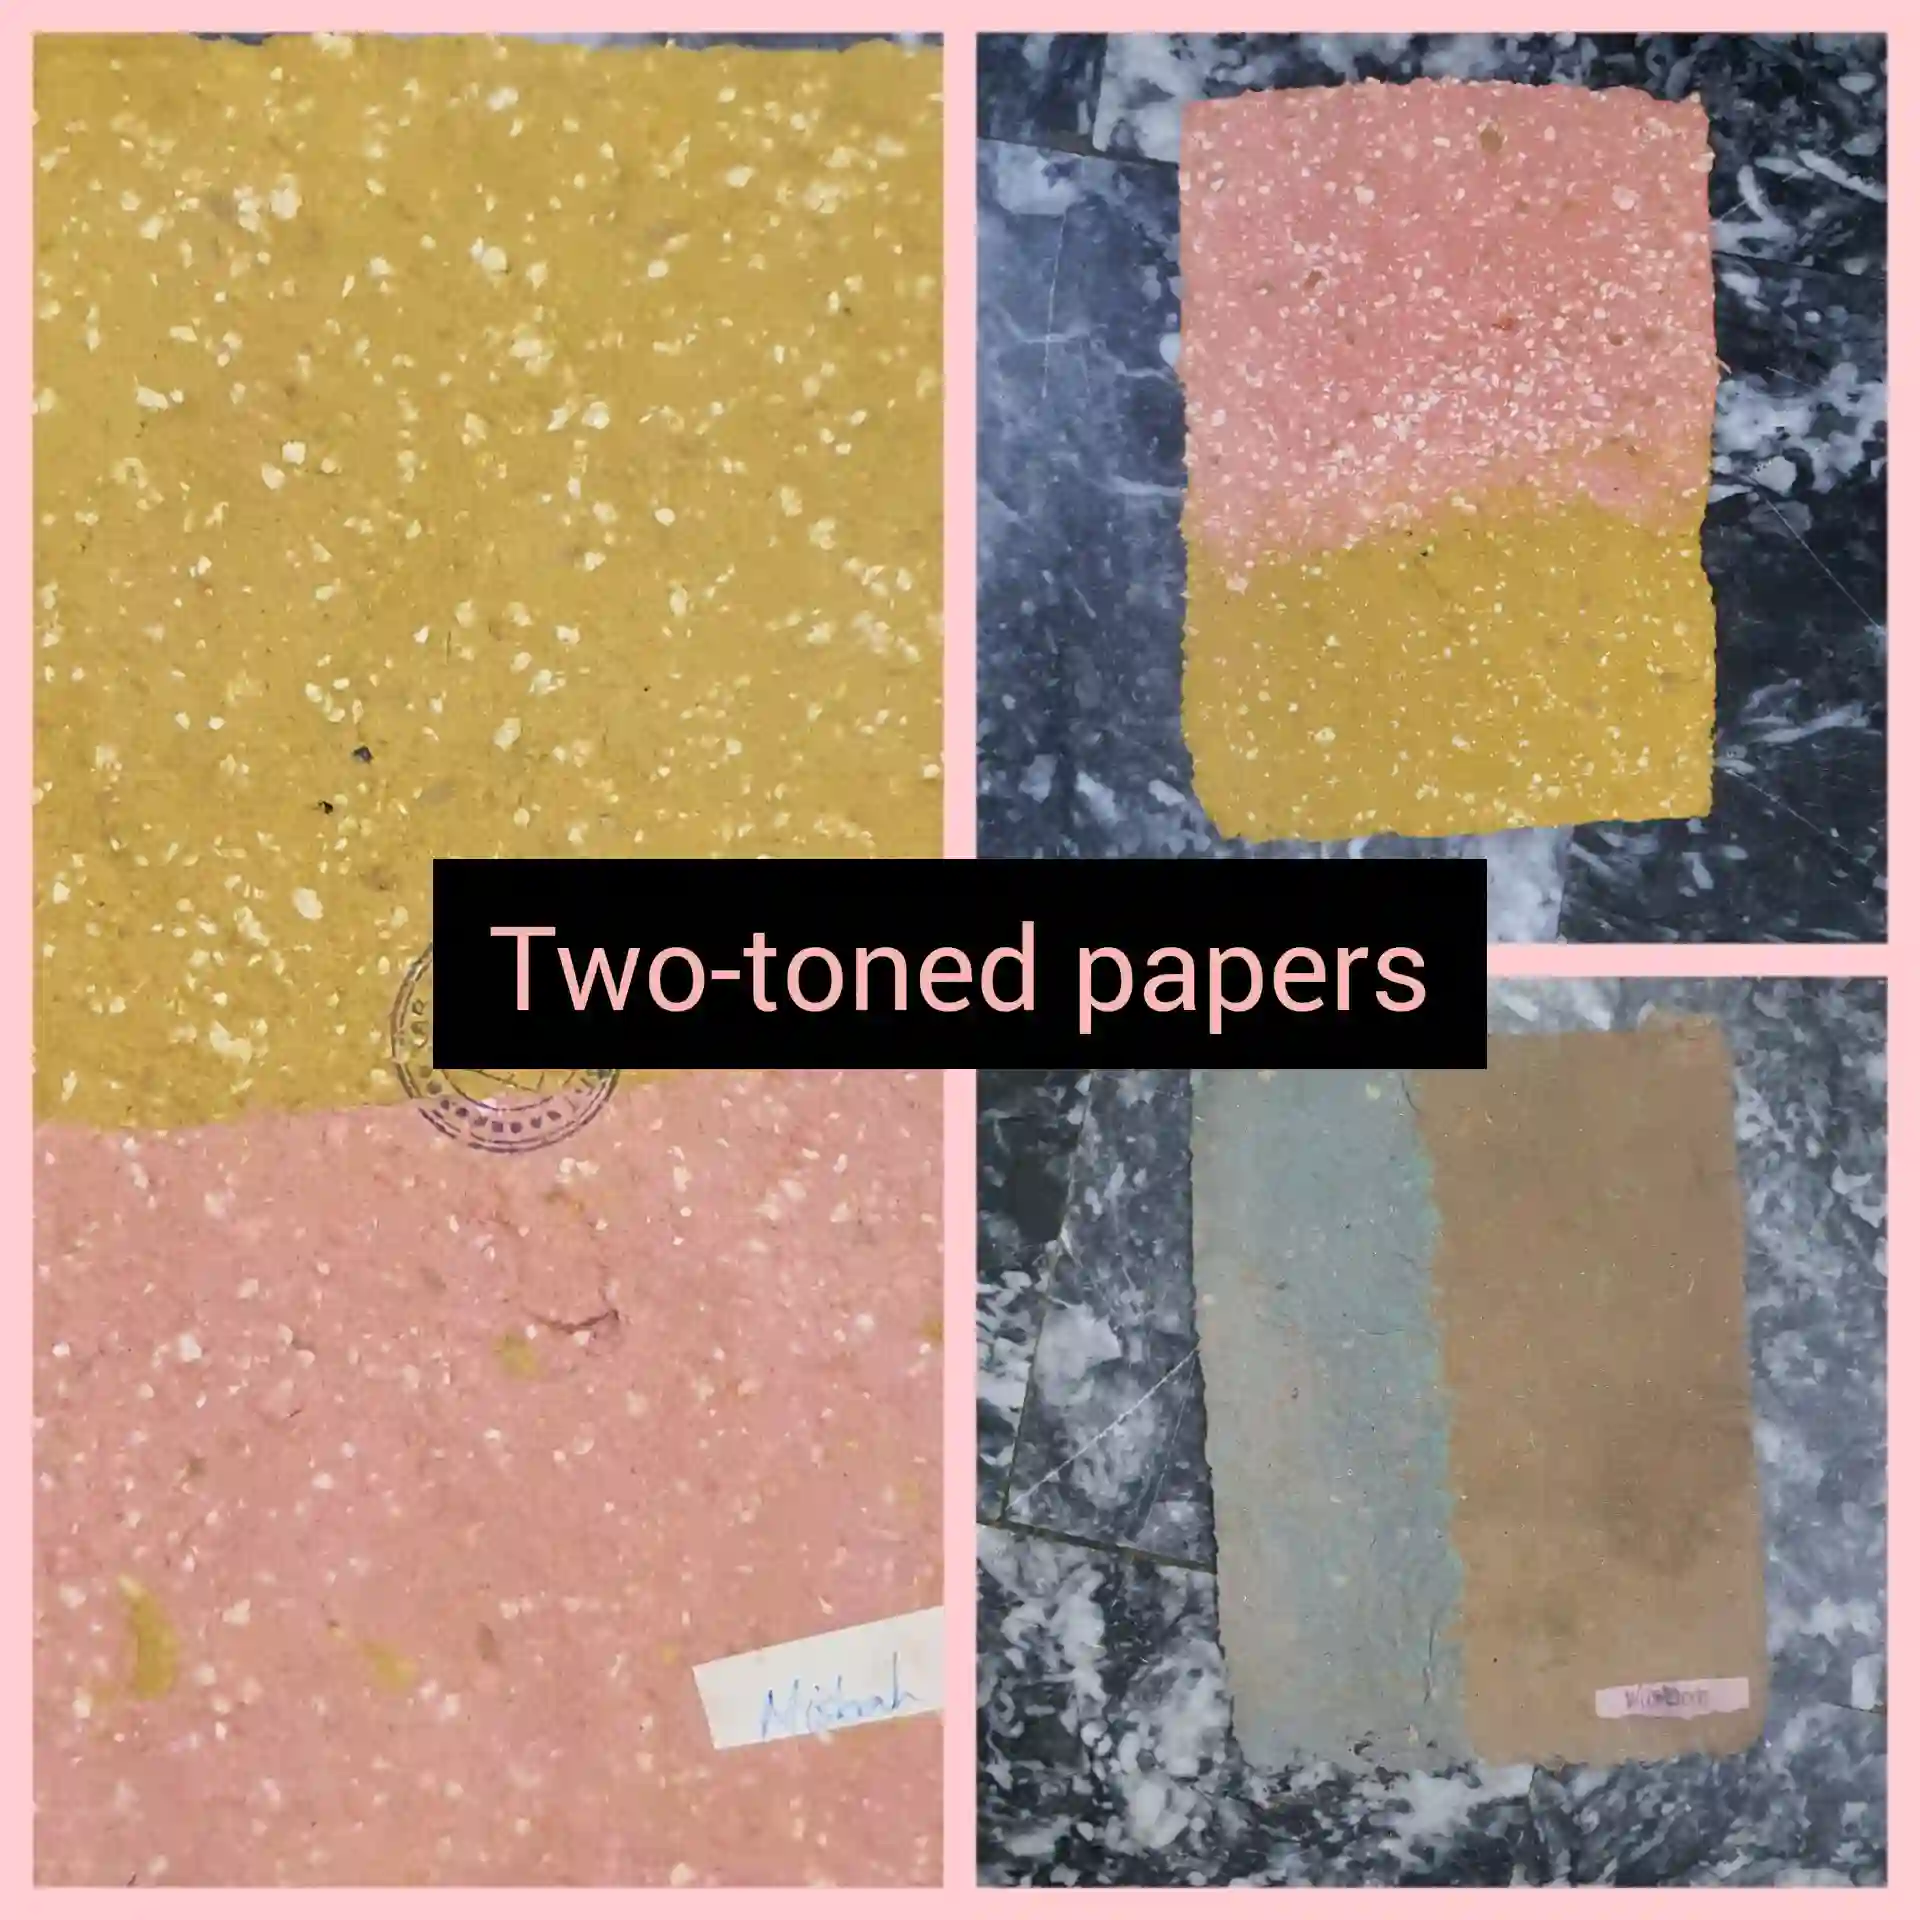
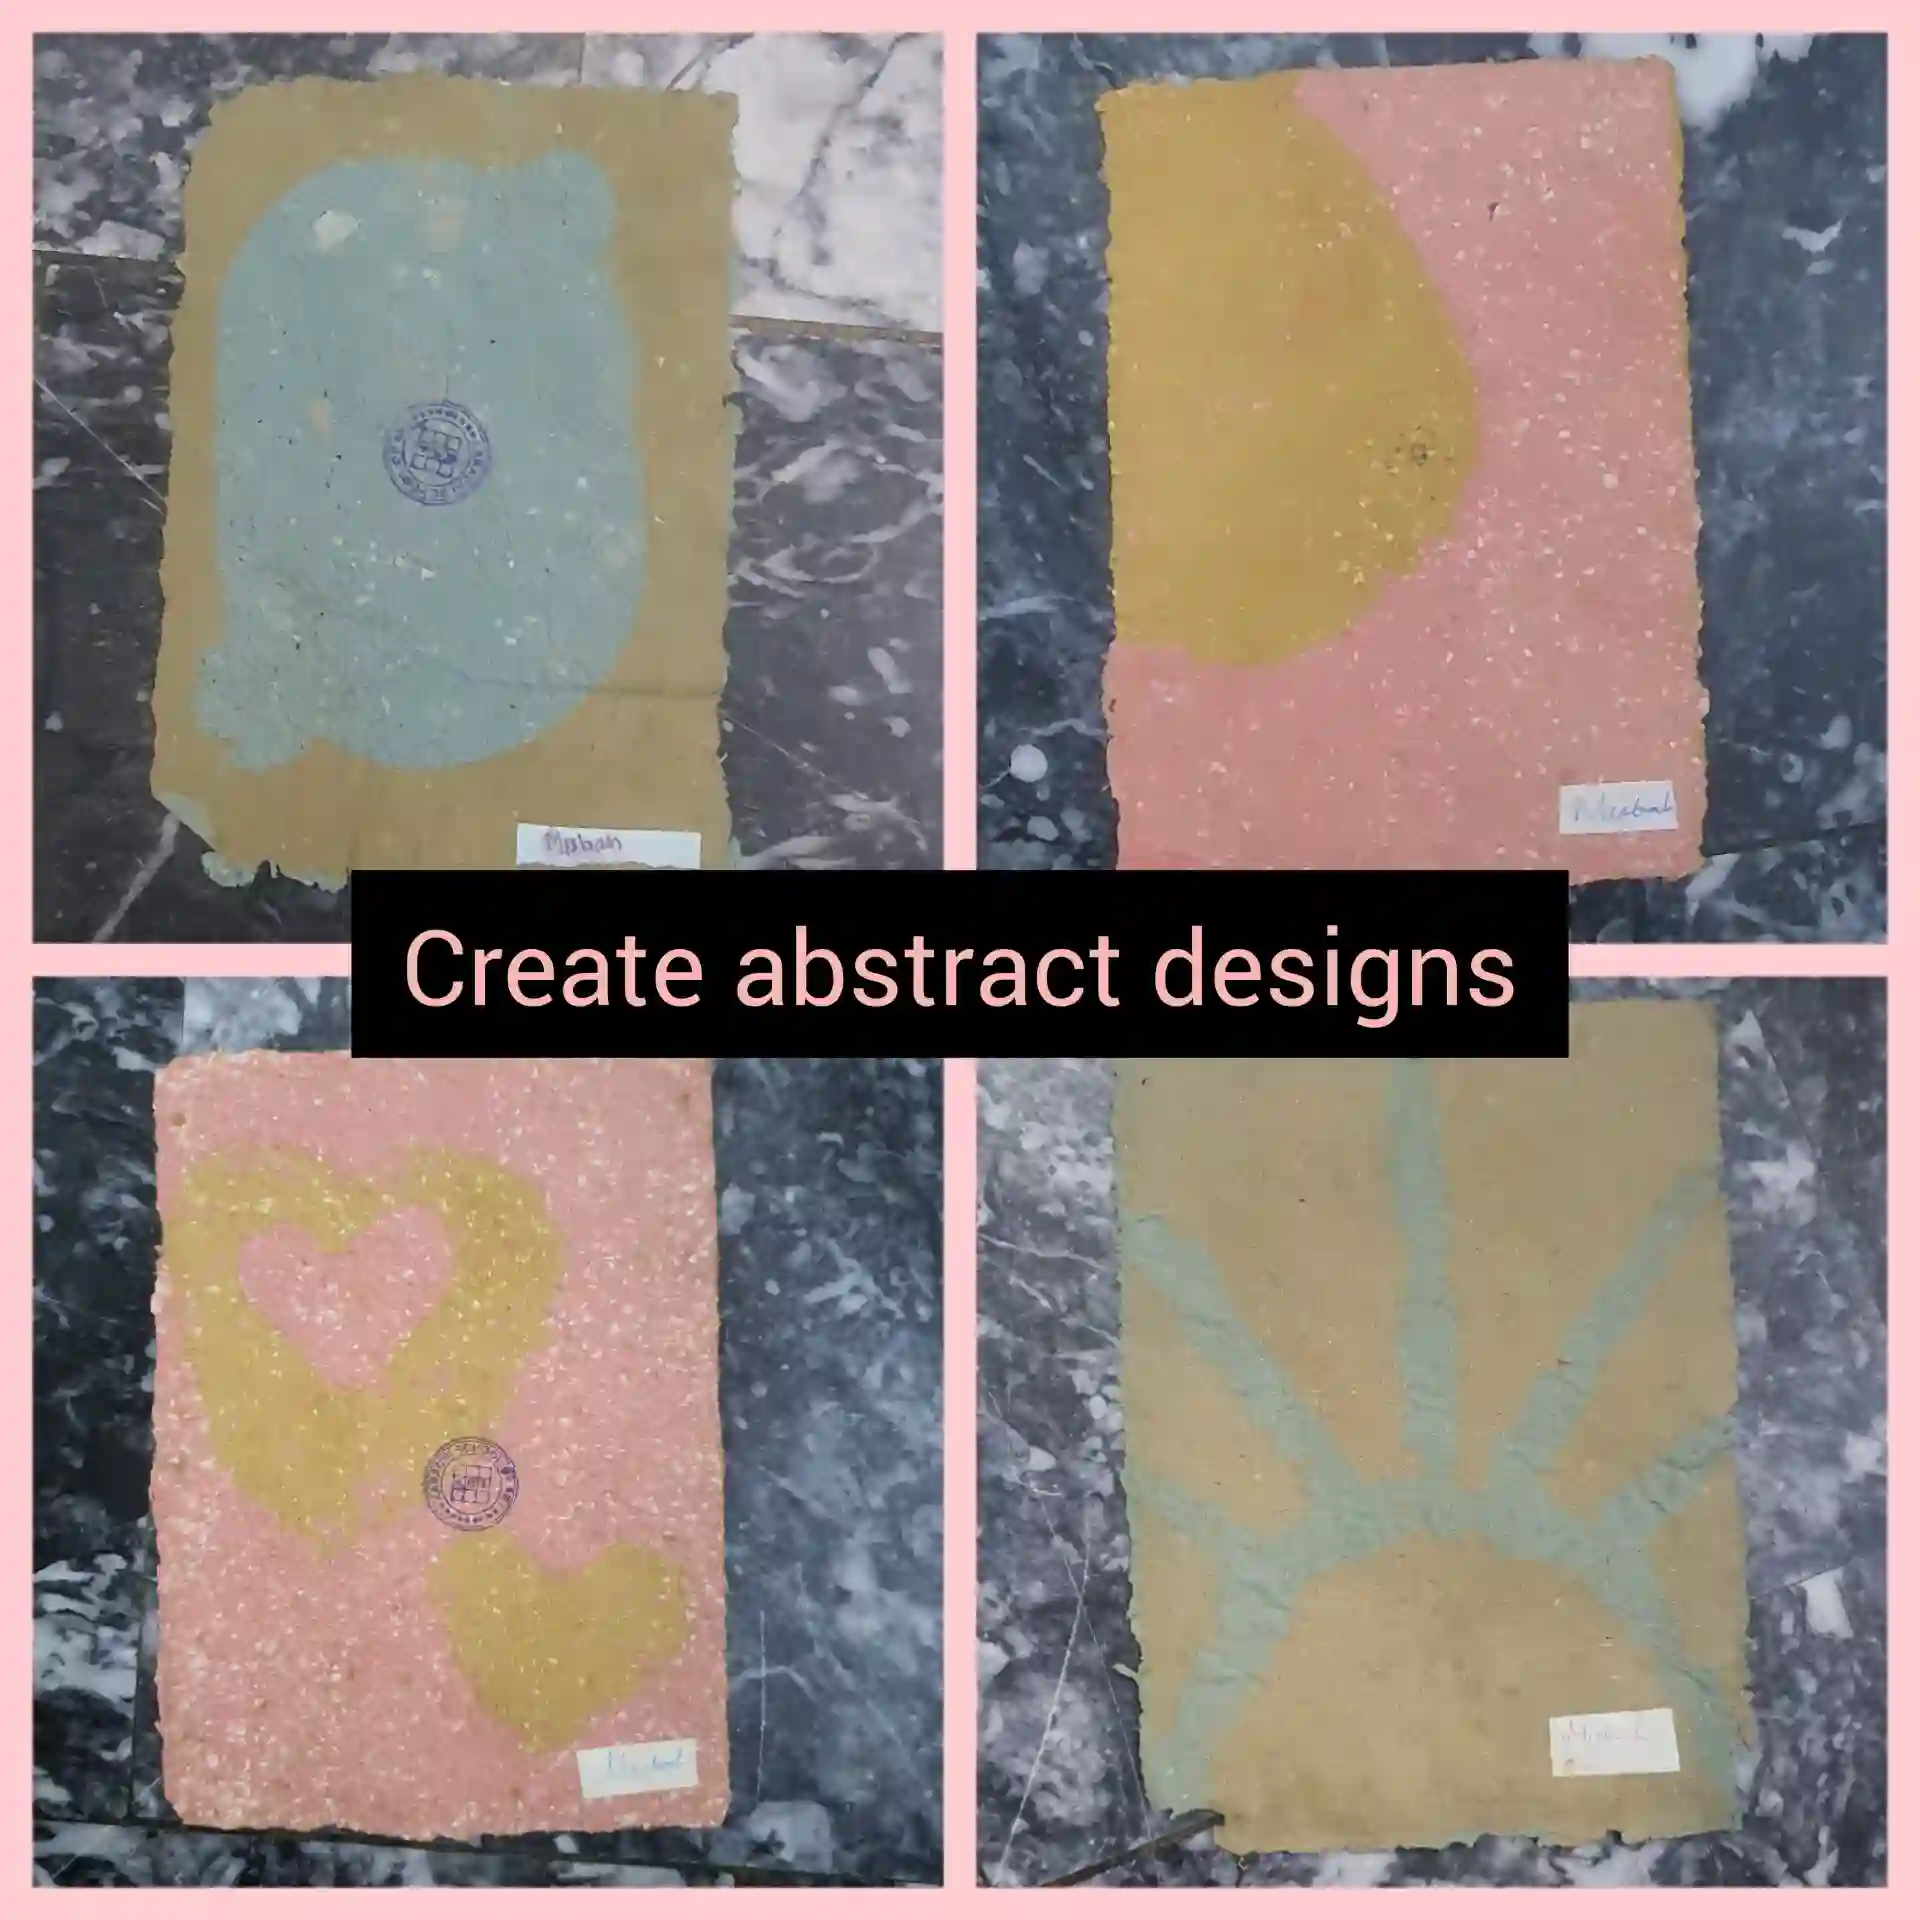
Double-Colored or Abstract Patterns
Try removing pulp selectively to create patterns, like making a heart shape, and experiment with different colors. This step allows for artistic expression and the production of truly unique and personalized recycled paper.
Making Paper from Natural Materials
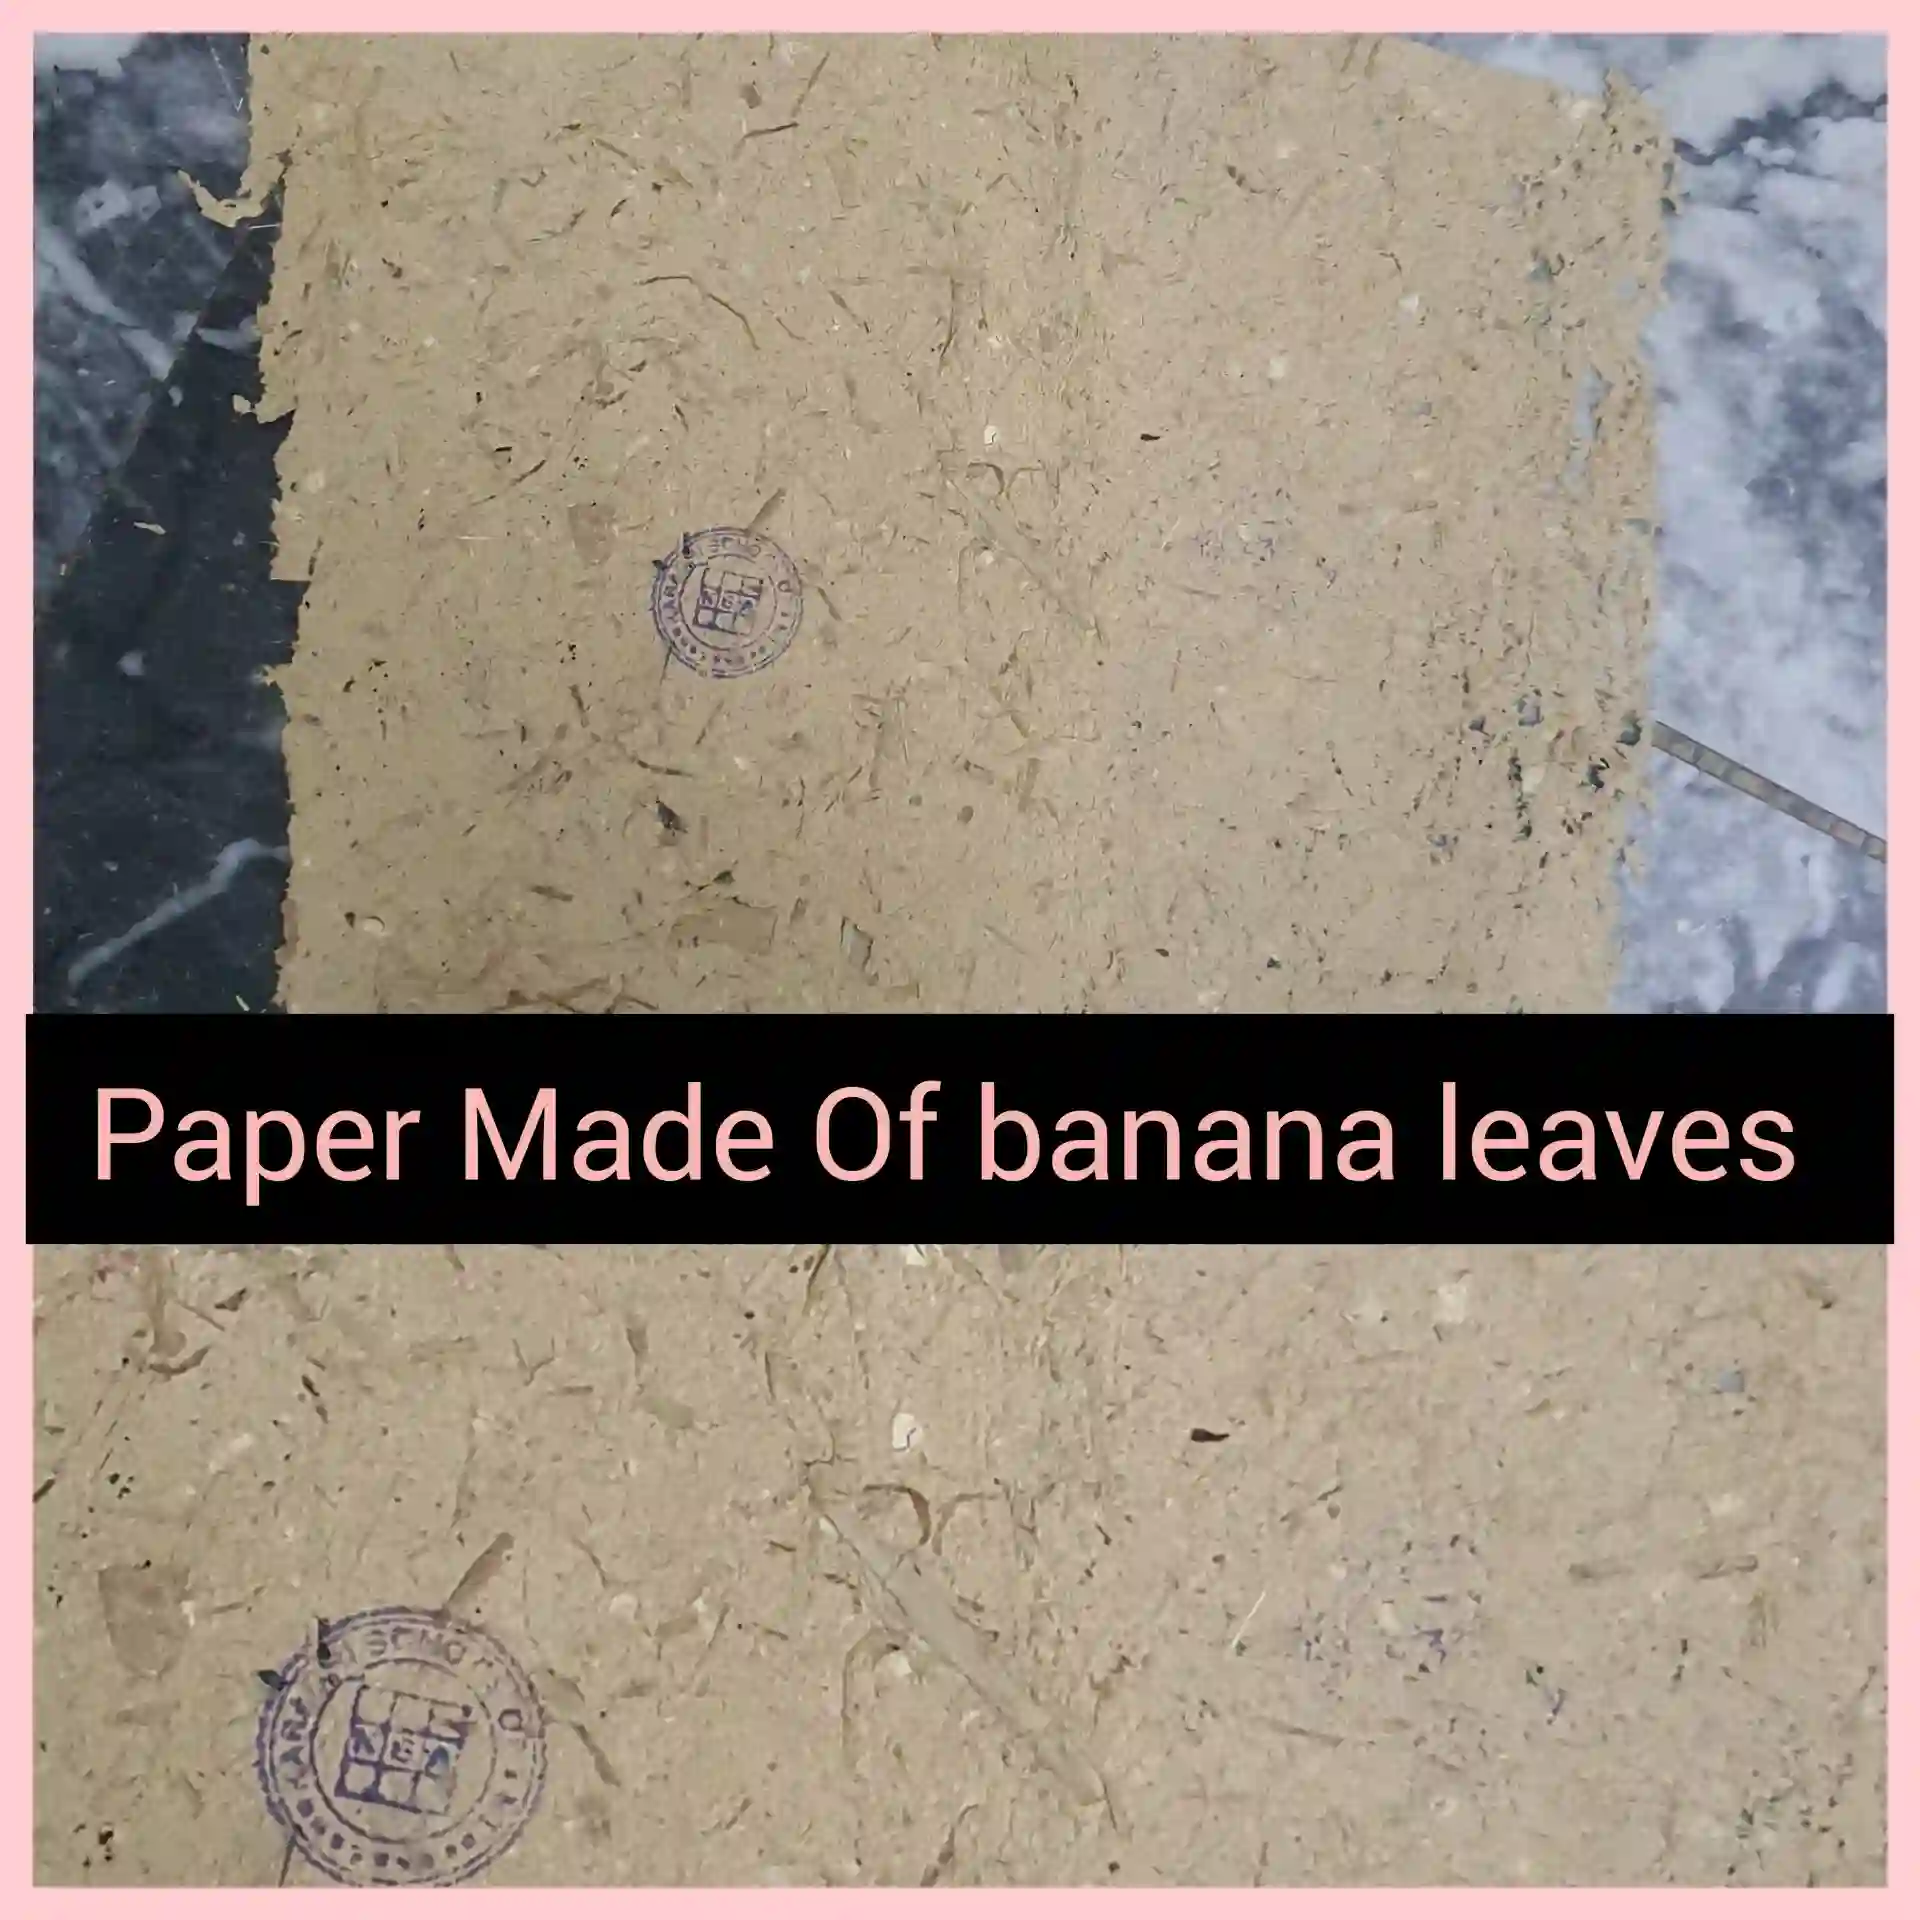
- Boil and blend natural materials like roses, banana leaves, sugarcane, and onions.
- Make sure to add little amount of caustic soda while boiling sugarcane and onions.
- Add a handful of the resulting paste to the bucket and follow the same procedure, adjusting the consistency as needed.
Conclusion
Crafting recycled paper at home is a rewarding and eco-friendly endeavor. Experiment with different materials, textures, and colors to create a unique, handmade paper that not only reduces waste but also adds a personal touch to your creative projects. By adopting sustainable practices and utilizing everyday items, you’re not just crafting paper—you’re contributing to a greener, more environmentally conscious world. So, gather your materials and embark on a journey to make your sustainable paper today!


I began reading this phenomenal site earlier this week, they create stellar content for visitors. The site owner is doing a terrific job of engaging the audience. I’m impressed and hope they persist with their wonderful efforts.
Baddiehub I’m often to blogging and i really appreciate your content. The article has actually peaks my interest. I’m going to bookmark your web site and maintain checking for brand spanking new information.