Introduction: Embark on a Creative Adventure with Homemade Paints
Welcome to the colorful world of DIY painting! In this blog post, we’ll explore the art of making your own paints from scratch. Whether you’re an experienced artist looking to try something new or a beginner excited to unleash your creativity, creating homemade paints is a fun and rewarding activity you can do at home.
Materials Required
- Water
- Gum Arabic
- Honey
- Glycerine
- Powder pigments (oxides)
- Liquid starch
- Diluted detergent
- Aluminum foil
- Glass slab or plastic sheet
- Molds (ice cube tray works well)
- Painting knife or spoon
Pigmentation Options
- Dry pastels
- Oil pastels
- Watercolor
- Poster paints
- Oil paints
DIY Color Making: Discover Your Artistic Flair with Homemade Pastels
Are you ready to embark on a creative journey and make your own vibrant pastels at home? With just a few simple materials and a dash of spirit, you can create unique pastels to bring your artwork to life. Let’s dive into the process of making dry pastels, a versatile medium suitable for various artistic endeavors.
Making Dry Pastels: A Step-by-Step Guide
Ingredients
- Powder pigments (oxides)
- Water
- Gum Arabic
Method
- Prepare the Pigment Base:
- On a glass slab or plastic sheet, take a portion of powder pigments (oxides).
- Gradually add water to the pigments and mix thoroughly using your hands. Aim for a smooth consistency.
- Spread and Scrape:
- Spread the mixture onto a piece of paper to remove excess water, ensuring an even texture.
- Use a painting knife or spoon to scrape the entire mixture from the paper.
- Add Gum Arabic:
- Introduce a few drops of gum Arabic to the scraped mixture. This acts as a binding agent, holding the paste together.
- Shape the Pastels:
- With the enriched mixture, shape the pastels either by hand or using molds. This step allows you to create a variety of pastel shapes and sizes.
- Drying Process:
- Place the formed pastels on a clean surface and let them dry for approximately 24 hours. This ensures they set properly.
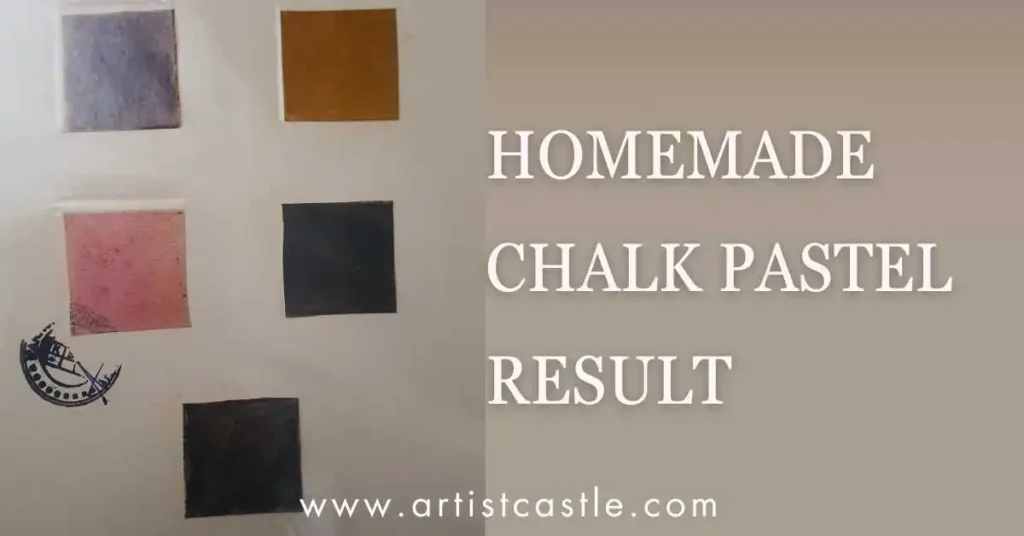
Now, you have a set of homemade dry pastels ready to infuse your artwork with a personalized touch. Experiment with different color combinations and let your creativity run wild.
Tips for Perfect Pastels
- Ensure a smooth consistency when mixing pigments and water.
- Use gum Arabic sparingly to avoid making the mixture too sticky.
- Allow sufficient drying time to ensure the pastels set properly.
Exploring Pastels in Your Artwork
Dry pastels are a versatile medium that can be applied to various surfaces, allowing for expressive strokes and vibrant color blending. Use them for:
- Detailed drawings
- Soft blending in landscapes
- Expressive portraits
- Abstract art pieces
Now that you’ve unlocked the secrets of making your own dry pastels, embrace the joy of crafting personalized colors for your artistic endeavors. Unleash your creativity, experiment with different techniques, and let your homemade pastels breathe life into your artwork. Happy crafting!
Crafting Homemade Watercolors
Learn how to make your own watercolors. With a handful of simple ingredients and a splash of creativity, you can make personalized watercolors to bring your artistic visions to life. Let’s explore the step-by-step guide for making homemade watercolors.

Ingredients
- Powder pigments (oxides)
- Water
- Gum Arabic
- Honey
- Glycerine
Method
- Prepare the Pigment Base:
- On a glass slab or plastic sheet, take a portion of powder pigments (oxides).
- Gradually add water to the pigments and mix until you achieve a smooth, wet, thick paste. This texture will be the foundation of your watercolors.
- Enhance with Binders and Sweeteners:
- Introduce a few drops of gum Arabic to ensure the watercolor binds well and spreads smoothly.
- Add honey and glycerine to the mixture. These ingredients contribute to the consistency and luminosity of the watercolors.
- Check Consistency:
- Evaluate the consistency of the paste. It should be thick enough to hold its shape but still be spreadable. Adjust the amount of water, honey, or glycerine as needed.
- Save in Molds:
- Transfer the enriched watercolor mixture into molds. You can use specialized molds for this purpose, or get creative with ice cube trays for a variety of shapes and sizes.
- Drying Process:
- Allow the watercolors to dry in the molds. This ensures they maintain their shape and are ready for use in your artistic projects.
Tips for Perfect Watercolors
- Experiment with different ratios of honey and glycerine to achieve varied textures and effects.
- Adjust the amount of water to control the intensity of the colors.
- Have fun mixing and matching pigments to create a diverse range of colors.
Exploring Watercolors in Your Artwork
Homemade watercolors offer a wide spectrum of possibilities in your artistic endeavors. Use them for:
- Delicate washes in landscapes and nature scenes.
- Detailed work in botanical illustrations and portraits.
- Exploring various watercolor techniques, such as wet-on-wet or dry brushing.
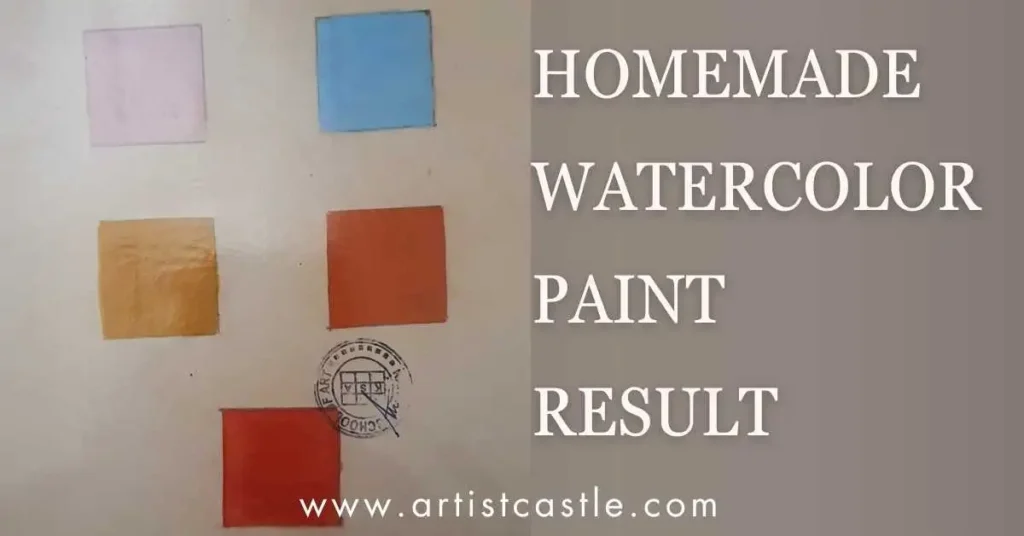
Now that you’ve mastered the art of making watercolors, unleash your creativity, experiment with different techniques, and let your personalized watercolors transform your artistic visions into stunning masterpieces. Happy crafting!
Crafting Homemade Oil Pastels: Adding Luminosity to Your Artwork
Are you ready to add a touch of luminosity to your artwork? Crafting your own oil pastels at home is a rewarding process that allows you to explore vibrant colors and textures. Let’s delve into the step-by-step guide for making personalized oil pastels using simple ingredients.
Ingredients
- Powder pigments (oxides)
- Water
- Linseed oil
- Gum Arabic
- Beeswax
Method
- Prepare the Pigment Base:
- On a glass slab or plastic sheet, take a portion of powder pigments (oxides).
- Gradually add water to the pigments and mix thoroughly by hand, achieving a smooth and consistent mixture.
- Enhance with Binders:
- Add a few drops of gum Arabic and linseed oil to the smooth pigment mixture. These act as binders, ensuring the pastel holds together and glides smoothly on surfaces.
- Introduce Beeswax:
- Heat the beeswax stick until it melts. Carefully add this melted beeswax to the pigment mixture. The beeswax contributes to the texture and luminosity of the pastels.
- Shape the Pastels:
- With the enriched mixture, shape the pastels either by hand or using molds. This step allows you to create a variety of pastel shapes and sizes, enhancing your artistic versatility.
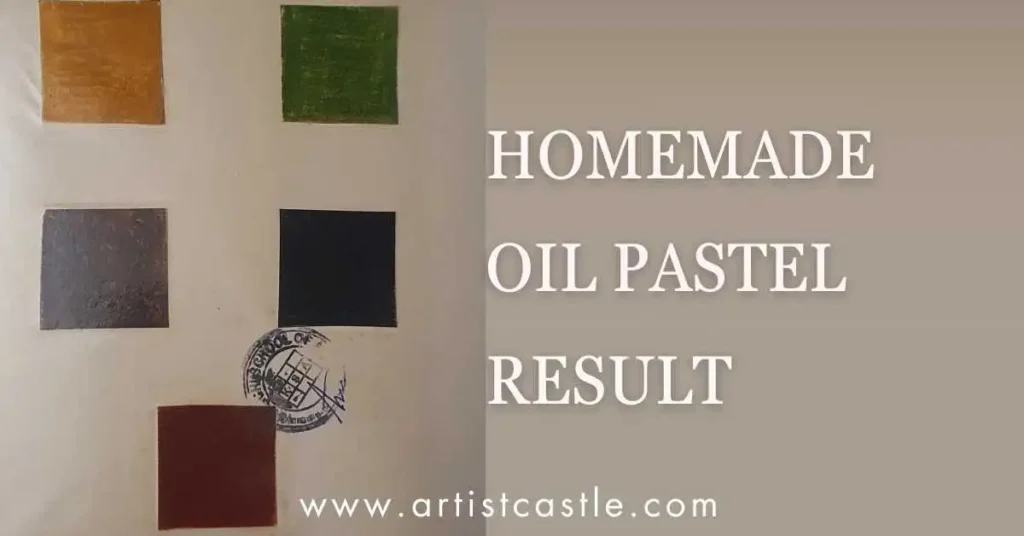
- Drying Process:
- Place the formed oil pastels on a clean surface and let them dry for approximately 24 hours. This ensures they set properly and are ready for use in your artistic endeavors.
Tips for Perfect Oil Pastels
- Achieve a smooth pigment base for better blending and application.
- Control the amount of gum Arabic and linseed oil to achieve the desired consistency.
- Experiment with different amounts of beeswax to create a range of textures in your pastels.
Exploring Oil Pastels in Your Artwork
Homemade oil pastels offer a unique way to infuse your artwork with rich, luminous colors. Use them for:
- Bold and vibrant strokes in abstract art.
- Detailed work in landscapes and portraits.
- Creating texture and dimension in mixed media projects.
Now that you’ve unlocked the secrets of making your own oil pastels, dive into the world of personalized colors. Embrace the joy of crafting, experiment with different techniques, and let your homemade oil pastels illuminate your artistic creations. Happy crafting!
Crafting Poster Paints
Elevate your artistry with personalized poster paints that boast vibrancy and versatility. Creating your own poster paints at home is a thrilling venture, and with a few simple ingredients, you can infuse your artwork with bold and expressive colors. Let’s delve into the step-by-step guide for making dynamic poster paints.
Ingredients
- Powdered pigments (oxides)
- Water
- Gum Arabic
- Diluted detergent
- Liquid starch
Method
- Prepare the Pigment Base:
- On a glass slab or plastic sheet, take a portion of powder pigments (oxides).
- Gradually add water to the pigments and mix until you achieve a smooth consistency.
- Enhance with Binders and Additives:
- Introduce a few drops of gum Arabic to ensure the poster paint binds well and adheres smoothly.
- Add diluted detergent to the mixture. This not only adds gloss to the paint but also enhances its flow on surfaces.
- Incorporate liquid starch to add a hard, stiff texture to the paint, providing structure and durability.
- Mixing Process:
- Stir the mixture thoroughly, ensuring that all ingredients are well combined. This step is crucial for achieving a balanced and dynamic poster paint.
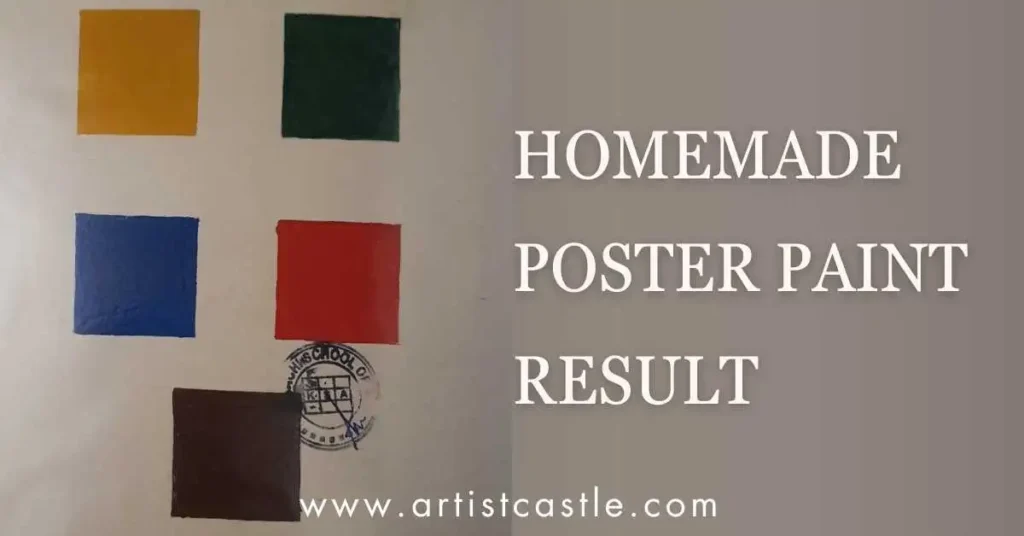
- Pour into Molds:
- Once the mixture is well-mixed, pour it into molds. Ice cube trays or any mold of your choice works well for creating diverse shapes and sizes.
Tips for Perfect Poster Paints
- Experiment with different proportions of liquid starch and diluted detergent to achieve the desired texture and gloss.
- Adjust the amount of water to control the paint’s thickness and intensity.
- Have fun mixing various pigments to create a vibrant palette of poster paints.
Exploring Poster Paints in Your Artwork
Homemade poster paints offer boldness and flexibility in your artistic endeavors. Use them for:
- Creating eye-catching posters and banners.
- Bold and opaque finishes in paintings and mixed media projects.
- Projects on paper, cardboard, and other surfaces.
Now that you’ve uncovered the secrets of making your own poster paints, let your creativity flow, experiment with different techniques, and watch as your personalized colors transform your canvas into a masterpiece.
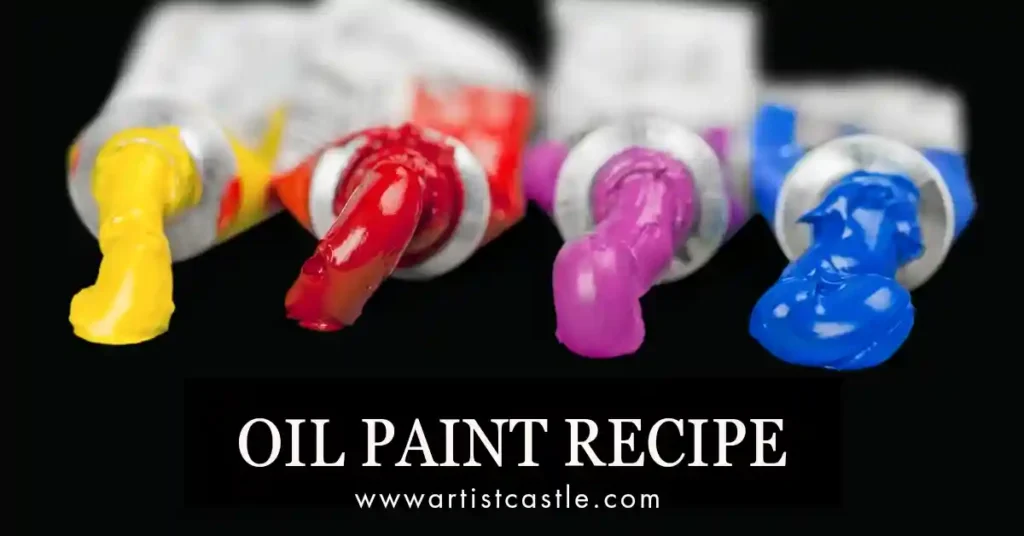
Crafting Homemade Oil Paints
Get ready to elevate your canvas with the richness of homemade oil paints. Creating your own oil paints at home is a gratifying experience, allowing you to infuse your artwork with personalized brilliance. Let’s explore the step-by-step guide for making your very own oil paints with just a couple of essential ingredients.
Ingredients
- Powdered pigments (oxides)
- Linseed oil
Method
- Prepare the Pigment Base:
- On a glass slab or plastic sheet, take a generous amount of powder pigments (oxides).
- Gradually add linseed oil to the pigments, creating a thick paste.
- Mixing Process:
- Use a spoon to thoroughly mix the pigments and linseed oil. The goal is to achieve a smooth, consistent mixture.
- Smoothing the Paste:
- Spread the mixture on the glass slab and rub it with a spoon. This process helps in making the paste smoother and more workable.
- Oil Extraction:
- Continue rubbing the dry paste until you observe the oil rising to the top of the mixture. This indicates a well-blended and smooth oil paint.
- Create Paint Tubes:
- Craft tubes using aluminum foil. Roll the foil into cylindrical shapes to store and preserve your homemade oil paints.
Tips for Perfect Oil Paints
- Experiment with different pigment-to-oil ratios to achieve the desired color intensity and consistency.
- Take your time rubbing the paste to ensure proper blending and extraction of oil.
- Store the paints in a cool and dark place to maintain their quality.
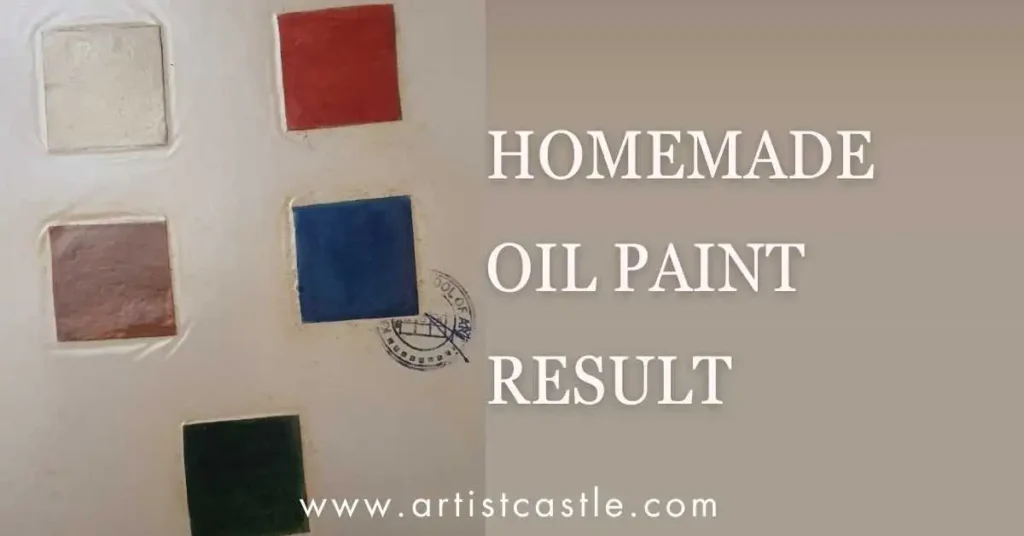
Exploring Homemade Oil Paints in Your Artwork
Homemade oil paints offer a world of possibilities for artists. Use them for:
- Traditional canvas paintings, allow for layering and blending of colors.
- Creating unique textures and effects in your artwork.
- Exploring various oil painting techniques and styles.
Now that you’ve mastered the art of making your oil paints, let your creativity flow, experiment with different techniques, and witness the magic as your personalized colors bring your canvas to life. Happy crafting!
Conclusion:
Congratulations! You’ve embarked on a journey of creativity, unlocking the secrets to crafting your spectrum of colors. From the delicate washes of homemade watercolors to the bold strokes of personalized oil paints, each recipe has empowered you to infuse your artwork with a touch of individuality and brilliance.
As you explore the boundless possibilities these DIY paints offer, remember that art is not just about the finished piece; it’s about the journey, the experimentation, and the joy of creating something uniquely yours. Embrace the imperfections, celebrate the vibrancy, and let your homemade hues tell your story on canvas and beyond.
So, whether you’re a seasoned artist or just beginning your creative voyage, continue to experiment, push boundaries, and revel in the satisfaction of knowing that each stroke of your homemade paint is a stroke of your artistic legacy. Happy crafting, and may your canvas always reflect the vibrant palette of your creative spirit!


This page is incredible. The brilliant information reveals the manager’s interest. I’m awestruck and envision further such mind blowing substance.
This webpage is outstanding. The site owner’s passion is evident in the excellent content. I’m in awe and anticipate reading more amazing pieces like this one.
Hello!
Good cheer to all on this beautiful day!!!!!
Good luck 🙂
Usually I do not read article on blogs however I would like to say that this writeup very compelled me to take a look at and do so Your writing taste has been amazed me Thanks quite nice post